Showing posts with label Graduated Stripes Coverplate. Show all posts

Wednesday, March 1, 2017

If Flowers Could Hug


I actually (shockingly) did some cleaning in the craft/sunroom last week.  It's not clean by any means, but you could actually see tabletop in a couple places which is a huge improvement.  In doing so, I managed to find some things I thought I should put to good use, namely a die cut cover plate piece and colored flower.

The cover plate is my Graduated Stripes Cover Plate from Neat & Tangled, I thought it was the perfect backdrop for this bold Mondo Peony image from Ellen Hutson.

I added some die cut leaves, from the coordinating die cut set by Ellen Hutson to frame the flower, and a sentiment from one of their sets as well.

You never know what treasures you might find if you actually put some stuff away!

Hope your week is going well!

*Affiliate Links Below

Friday, March 4, 2016

Fun with dies


I recently got this new leafy branch die from Papertrey.  I just love it and wanted to use it right away. I've paired it with my Graduated Stripes cover plate.  It's got just the right amount of structure/texture to soften the background.

I die cut the branch from the top and bottom of the coverplate as well as from some black cardstock and then did some fancy inlay.  I trimmed it down a bit and then added a simple sentiment from PTI's Choose Joy stamp set.  I have to say that I really love the sentiments in this set and it's turning into a go-to set for me.

I had considered using a sentiment die, but I felt like they were competing with the background and I like the clean/flat look of the overall card.


We're off to Connecticut this weekend to check out my new niece and spend some time with my college roommate and her family.

Next week is release week at Neat & Tangled!  I've got some fun stuff in this release that I can't wait to share with you guys!

Have a great weekend!

Monday, November 16, 2015

The 25 Days of Christmas Tags


I'm happy to be participating in Tracey McNeely's 25 Days of Christmas Tags event.

Today some of the Neat & Tangled and Little Tangles DT members are sharing tags.

I really enjoy making tags, and once I got started, it was hard to stop!  I ended up with three.


I used the new Classic Tag 1 die for each of these.  For this first one I clear embossed Origami Map on  a tag cut from watercolor paper.  The map was colored with Inktense pencils using a pencil to brush technique (where you just pick up color directly from the pencil using a paintbrush).


The embossing was ironed off, and then the sentiment, using Christmas Journaling and Bible Journaling Companions was stamped using Versafine and clear embossed.  I used Kuretake gold paint to color in the Joy.


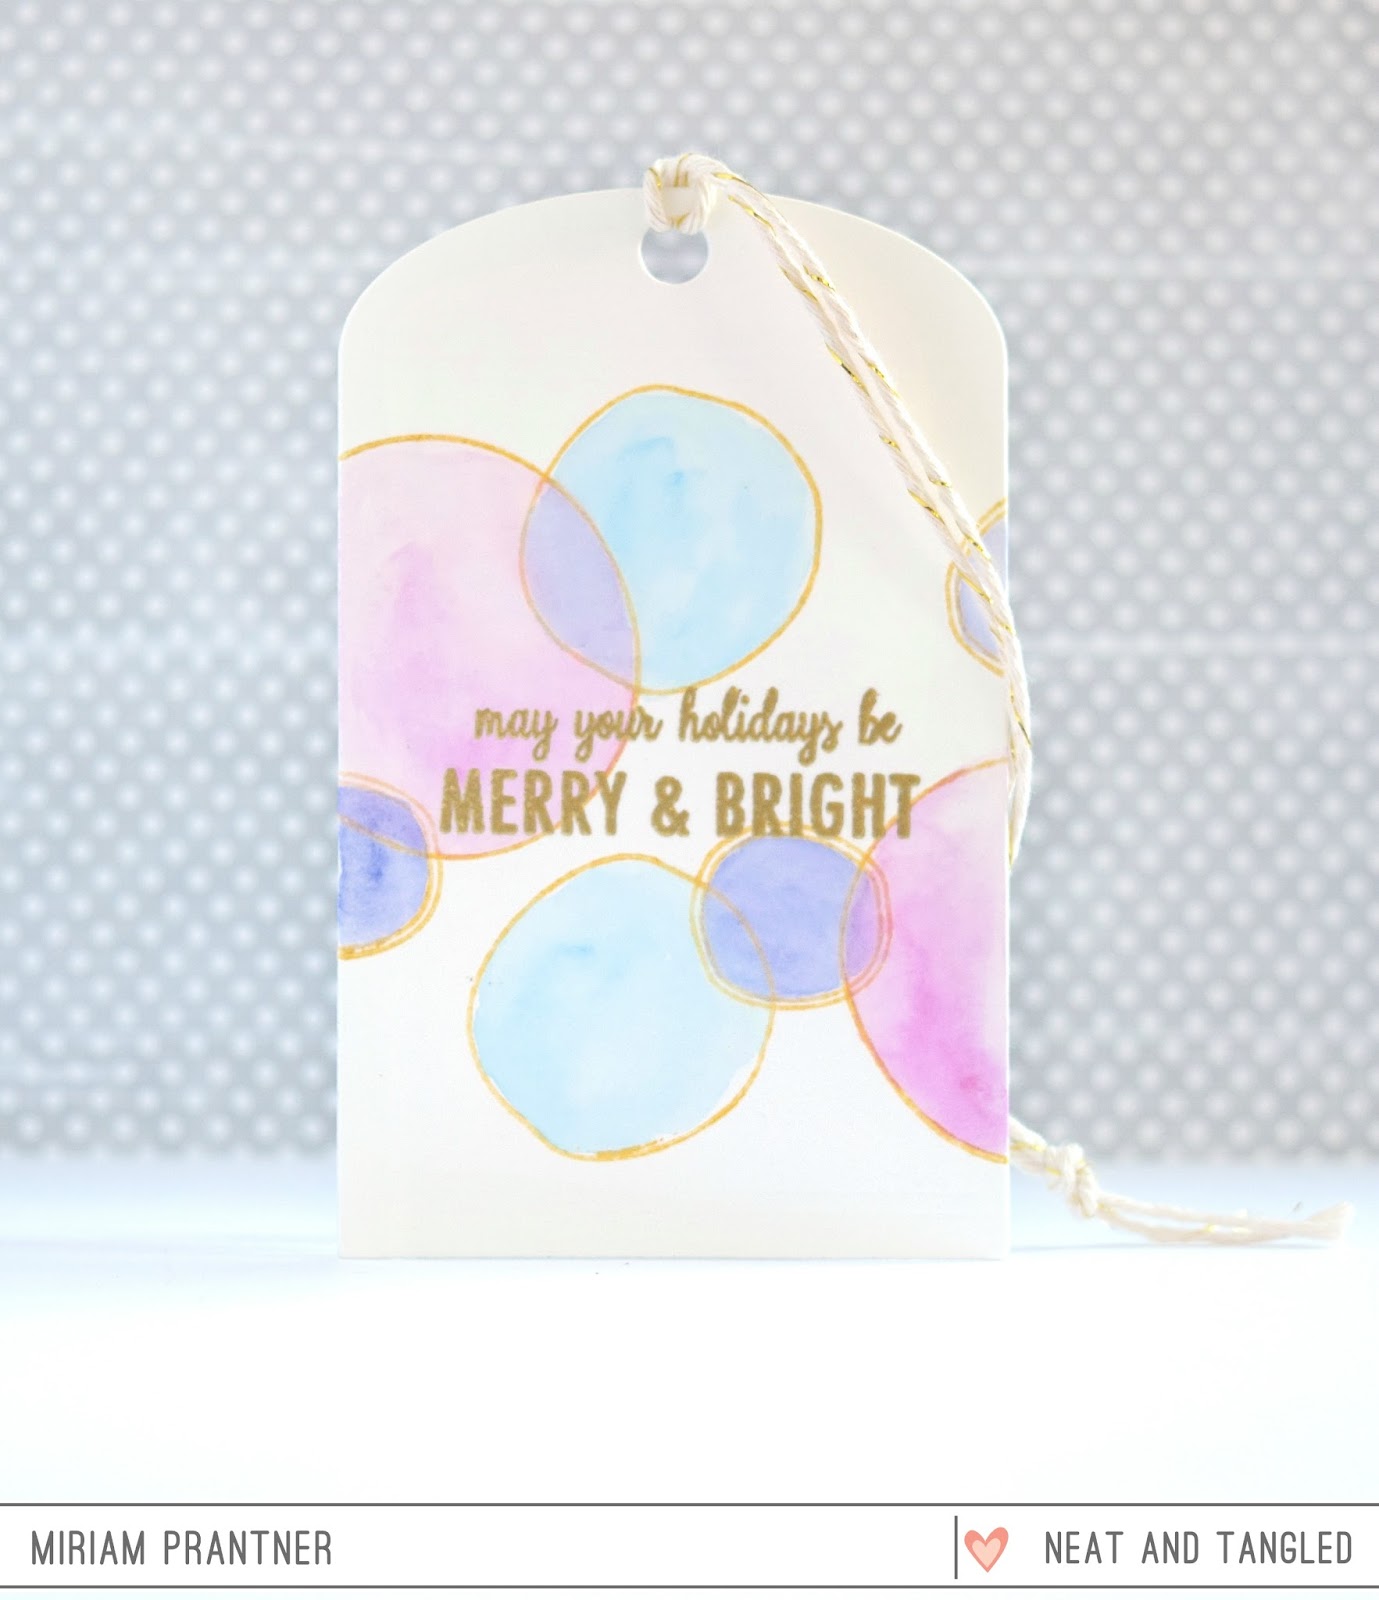
Next up a super simple tag design that is perfect for mass producing and easy enough for your kids to help.  I used watercolor paper again, and randomly stamped the circles from Dala Horse in Delicata ink.  The circles were watercolored with Inktense pencils again using the pencil to brush technique.


The sentiment is from Bright Baubles and embossed in gold.


Finally, I had to pull out the Dala Horse Dies.  I created a tag for the N&T release with the Dala Horse stamp set here, but I wanted to show how perfect the dies are for Christmas too.  This was pretty simple.  The tag was die cut from a panel created using the Graduated Stripes Cover Plate.

The Dala Horse was popped up with some foam tape and then the sentiment, from Happy Holidays, was added.


Hope this gives you a few ideas for Christmas.  Be sure to stop by the Neat & Tangled blog, Danielle has a tag up there, and of course stop by Tracey's blog as well.  There are a whole lot of sponsors for this event.  You can leave comments on her 25 Days posts to enter as well as link up a tag.  Good luck!

Thursday, June 11, 2015

Hello Hoop for Neat & Tangled


It's my turn on the Neat & Tangled blog today.  I pulled out a bunch of the newer dies for this one.

The background was created using the Graduated Stripes Cover Plate.  I cut it in white as well as that delicate geometric pattern and then inlaid the patterned pieces.  When I do this for cover plates, I will cut a piece of printer paper just under A2 size, run it through my Xyron 5" machine, and use that as my base.

The Hoop and Hello There dies were cut from black cardstock.  I adhered the hoop to a piece of vellum and then trimmed around the hoop to remove the excess, the Hello There die was then adhered to the vellum, and the entire piece was popped up with some foam tape.


Then it was just a matter of adding the sequins.  I really wanted to do a straight black and white card, but I couldn't resist adding those Magenta sequins.  In fact I think I used up my very last three....I had to scrounge around at the bottom of the container I keep my sequins in to find some that fell out of the bag in order to come up with these three!

That's all for today, short and sweet!  Hope you are having a great week!

Supplies Used
Paper/Cardstock:  BG - Highline 6x6 pad; MFT - Black Licorice Yardstick; Avery Elle - White Cardstock; Recollections - Vellum
Other:  Neat & Tangled - Graduated Stripes Cover Plate, Hoop Die, Hello There Die, Black and Magenta Sequins; Xyron - 5" Machine; Tombow - Mono and Multi Mono Adhesive; CTMH - Liquid Glass; Scotch - Foam Tape