Hi friends! It's the first day of this month's Neat & Tangled release week! I've got several new products to share with you this week, starting with today's featured products, Mail Background and the Love Mail dies. The Mail Background is also a new product type for Neat & Tangled - a red rubber background!
I started out by stamping the background in a very soft pink ink (Frosty Pink from Altenew) on a light pink cardstock. The little hearts on the envelopes stamp just an outline, but I went in with a very light pink Copic marker (RV11) and colored them all in. I then used the largest scalloped frame from the Scalloped die set to die cut the background piece, and adhered it to a dark gray panel to give it a bit of definition.
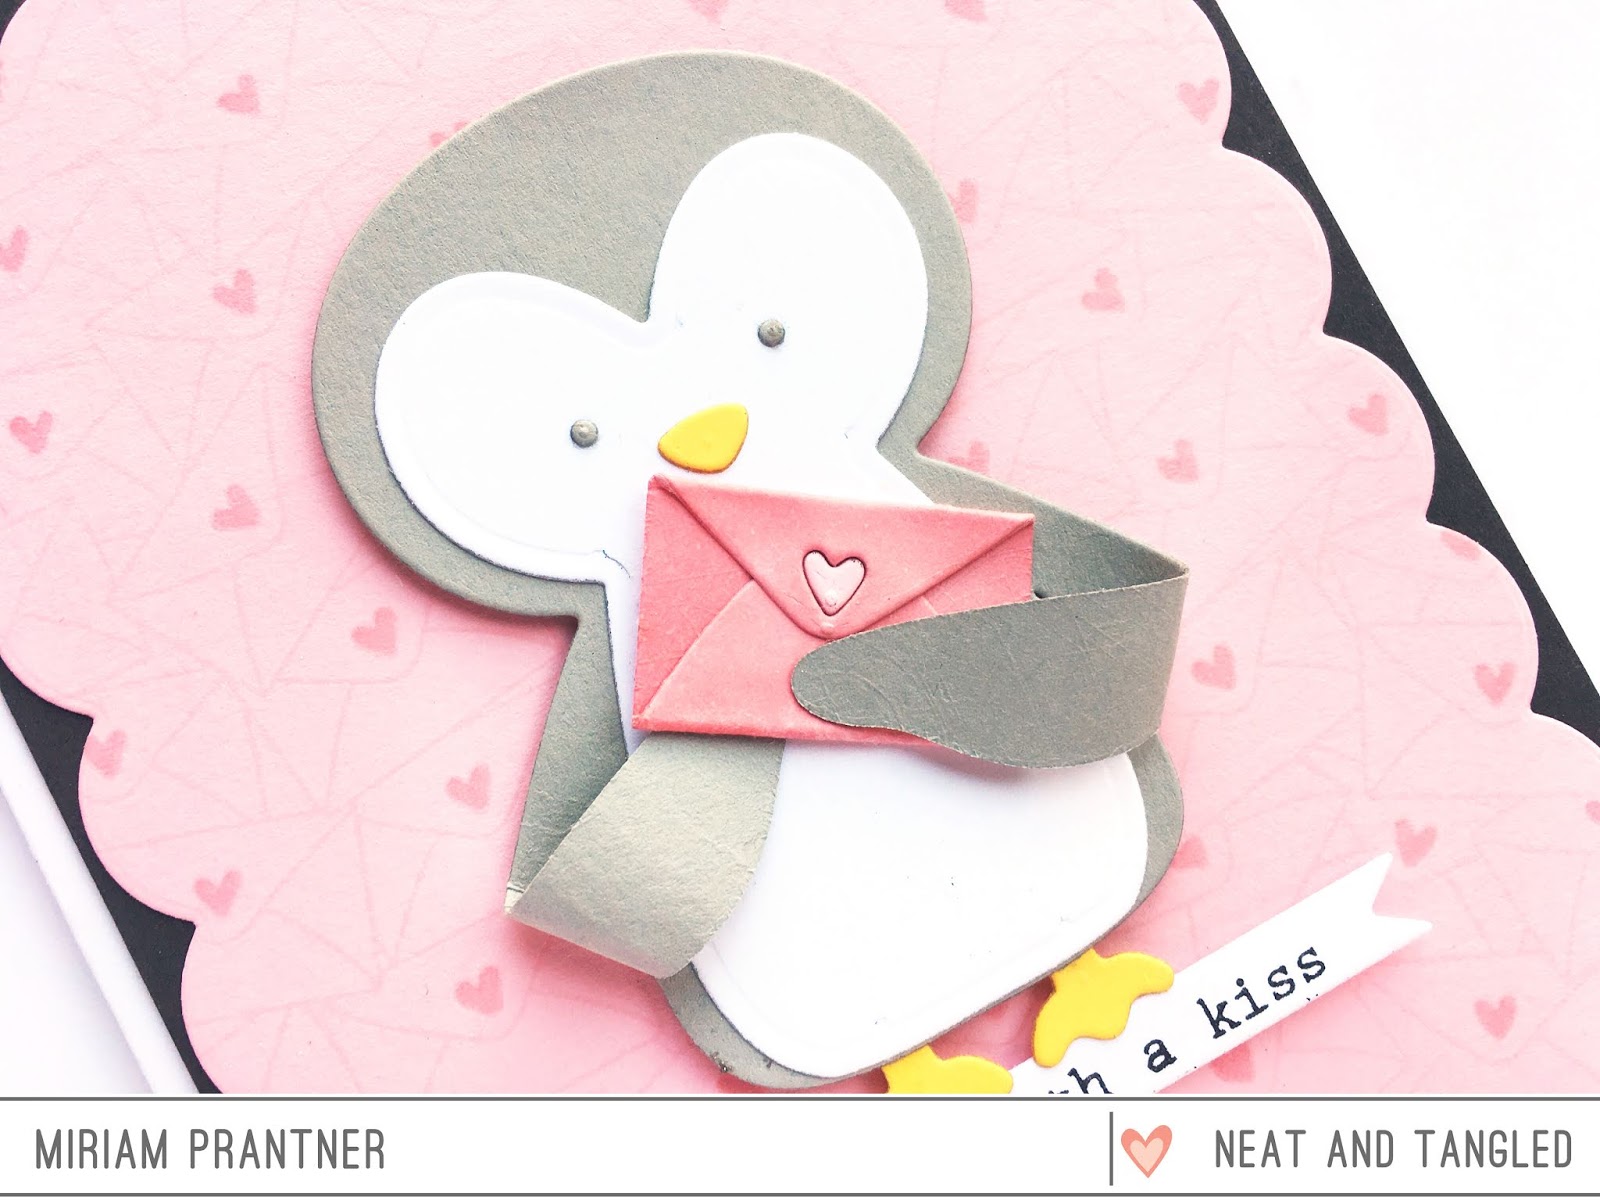
I knew I wanted to use the faux envelope die from the Love Mail set on my card, and I needed someone to hold it. The Penguin Treat Holder die was the perfect candidate. I cut the penguin from a light gray cardstock for the main body and used a lighter yellow for the feet and nose/beak.
Next, I cut the envelope from the same pink cardstock I used for the background, coloring the envelope with the same pink Copic I used to color in the hearts on the background (I left the heart uncolored). Since this is a faux envelope, you just fold the top and bottom flaps in to create the look of an envelope, but it doesn't actually hold anything. Once the envelope was assembled, I used glue dots to adhere the penguins wings and the envelope.
The sentiment is from a new set I have that you'll see later this week.
Both the penguin and sentiment strip were popped up over the base.
That's all for me today, but be sure to head over to the
Neat & Tangled blog to see what the rest of the team created. You can also enter to win today's featured products there.
Leave a comment here as well. I'll be selecting some commenters to win some of my new release products at the end of the week. For extra chances, head over to my Instagram account (@mprantner) and follow the directions there. See you back here tomorrow for Day 2!