Wednesday, July 30, 2014

Guest Designing for Paper Smooches - Week 5


Hey everyone!  This month has flown!  There were actually five Wednesdays this month, so I have a 'bonus' guest post.

My first card this week, is a very CAS inlaid die cut design.  I created a color blocked pattern and added some accents using the cross stitches from the stitched dies, in gold of course.  The sentiment was also die cut in both black and gold and inlaid using gold for the negative portions of the sentiment.


For my second card I thought I would stretch my stamps a bit and give them a different look.  I used one of the branches from Blossoming Buds to create a tone on tone pattern.  The two little birds from Kudos were then stamped in red and I die cut/inlaid the sentiment using the previously released Christmas Words dies.


And another card for my Christmas Card stash is done!

Thanks so much for coming by and a huge thank you to Kim for inviting me to guest this month.  I had a wonderful time creating for PS!

Supplies Used
Card 1
Paper/Cardstock:  PTI - True Black, Berry Sorbet, Aqua Mist, Harvest Gold cardstock; Recollections - Gold Foil Cardstock
Other:  Paper Smooches - Stitched and Kudos Dies; Tombow - Mono Adhesive
Card 2
Paper/Cardstock:  Avery Elle - Silver Fox and Cherry cardstock; PTI - Kraft cardstock
Stamps:  Paper Smooches - Blossoming Buds and Kudos
Ink:  Hero Arts - Wet Cement; CTMH - Cranberry Pigment Ink
Other:  Paper Smooches - Christmas Word Dies; Lawn Fawn - Peppermint Lawn Trimmings; CTMH - Dimensional Foam Tape; Tombow - Mono Adhesive

Tuesday, July 29, 2014

A Really Good Friend


Just a quick post today.  I made this card a while back, but hadn't had a chance to share it yet.

It's a little different than my normal style - a little bit more freestyle collage - but I find that I actually do enjoy that style.  It makes me think outside my box a bit and play with patterns and embellishments more than I normally do, and frankly, I have so much 'stuff' that I could stand to do a lot more cards like this one!  

All the papers are from MME's Record It Here is Happy pad, and the sentiment is from Technique Tuesday's So Very Thankful set.  


That's all for today.  I'm back tomorrow with my last guest post for Paper Smooches, see you then!

Supplies Used
Paper/Cardstock:  MME - Record It Here is Happy 6x6 pad; PTI - Kraft cardstock
Stamps:  Technique Tuesday - So Very Thankful
Ink:  CTMH - Chocolate
Other:  Studio Calico - Feather Wood Veneer; Divine Twine - Deep Pink Twine; Neat & Tangled - Magenta Sequins; Tim Holtz Tiny Attacher; Misc Doily; Thermoweb - Zots; CTMH - Liquid Glass; Tombow - Mono Adhesive

Friday, July 25, 2014

August Publication Share


Hey everyone, it's been crazy busy around here.  I've been working on several things, including some new stamp designs (yay!), and other things that I can't show you just yet, but I thought I would share this card that was published in the August issue of Paper Crafts & Scrapbooking Magazine.

I was especially excited for this one since it's the first card that I've submitted to the sketch category that was picked up.

I used WPlus9 quilt cuts for the tangram elements and the sentiment is from My Favorite Things.  It's a little hard to see, but that black strip up top is some AC glitter tape.

We've had an incredibly busy week here at home and the next two look to be just as busy.  I really can't complain though, it's been all sorts of fun things.  We've just been enjoying the summer and all that it brings.

Hope you are doing well and have a great weekend!


Wednesday, July 23, 2014

Guest Designing for Paper Smooches - Week 4


Hey everyone!  Back to share some more cards for Paper Smooches.

My first card uses my very favorite set from this release:  Blossoming Buds.


I stamped the larger cluster of flowers in each corner to create a frame, and then colored it with Copics.  It's really a very simple card to pull together.  I added little pencil marks in the center of each of the sides to help with my positioning.

I also added an outline in gray around all of the images as well as the sentiment, from the Kudos set, to make them pop a bit.

My second card is a little more out there.  I challenged myself to do something really out of the box with the Ghoulfriends set.  I picked just one stamp.....the witch hat, stamped it a gazillion times, colored it, and fussy cut, and the used them to form these medallions.  What do you think?  Too weird for you or does it pass the test.


The 'you're' sentiment is from Blossoming Buds and I used one of the Kudos dies for the main sentiment.  To create that sentiment piece I first die cut the word from gold foil cardstock, then I die cut it again from that thin strip of black cardstock.  I used an identical strip as the base to piece it all back together.  It's a little tricky to do, but I love how it looks.


That's all for me today.  I'll have one more set of cards to share with you next week (my last week! sniff....). Thanks for stopping by!

Supplies Used
Card 1
Paper/Cardstock:  CTMH - White Daisy cardstock; PTI - True Black Cardstock
Stamps:  Paper Smooches - Blossoming Buds, Kudos
Ink:  Memento - Tuxedo Black
Other:  Copic Markers; Tombow - Mono Adhesive
Card 2
Paper/Cardstock:  Avery Elle - White Cardstock; PTI - True Black Cardstock; CTMH - White Daisy cardstock; Recollections - Gold Foil Cardstock
Stamps:  Paper Smooches - Ghoulfriend, Blossoming Buds
Ink:  Memento - Tuxedo Black
Other:  Paper Smooches - Kudos Word Dies; Copic Markers; Kuretake - Gold Wink of Stella Pen; Recollections - Enamel Dots; Xyron - 1 1/2" Sticker Maker; CTMH - Dimensional Foam Tape; Tombow - Mono Adhesive

Monday, July 21, 2014

Love You Photo Pocket Card


Hey everyone!  I've been busy working on a bunch of things that I can't share quite yet, but I thought I would pop in and share a card that was published in the Photo Pocket Scrapbooking special issue of Paper Crafts & Scrapbooking magazine.

I used an Elle's Studio journaling card, some Basic Grey RSVP papers, and Taylored Expressions Skinny Alpha dies.

I love altering journaling cards and that's what I did here.  Obviously the sentiment was die cut, but I used a craft knife to cut around the hearts and pop them up for some dimension, and then mimicked the stitching that is printed on the card.  The hearts in the centers of the Os were just free hand cut from the same paper used on the background and I added some color with a sponge dauber.


Thanks for stopping by and have a great start to your week!

Friday, July 18, 2014

N&T Winner!

Happy Friday everyone!

Just popping in quickly to announce the winner of my two new stamp sets.

Random.org chose commont #16 which came from.....

DONNA MIKASA!

Congratulations Donna!  Shoot me your address and these will be headed your way.

And thanks so much to everyone for all your kind words and support.  The new sets are doing well and headed for a sell out, potentially as early as today, so if you need the sets right away you'll want to head on over.  If you need some incentive to push you over the edge, Danielle is moving soon, so there are a whole slew of sets on sale....now's a good time to pick up some of those things you've been eyeing.  If now's not a good time, replenishments are on the way, and should be here in a few weeks.

Have a great weekend!

Wednesday, July 16, 2014

Guest Designing for Paper Smooches - Week 3

****To see the reveal of my two new Neat & Tangled stamp sets and to enter my giveaway, please scroll down.


Hey everyone!  Week three of my guest designing gig with Paper Smooches and I'm having a great time!  My cards the last two weeks have been on the more elegant/sophisticated side, but today I wanted to go with funny, and really Paper Smooches stamps are made for humor.

First up a card that features the Feline Friends set.  This cat just kind of makes me laugh.  Whenever I look at him I think of one of those grumpy Eeyore type personalities, nothing ever goes right for them, so I thought I would give his day a little lift.


I created a dock and used the Stitchced Dies to make waves.  Then I stamped and fussy cut a bunch of fish.  The fish are first and second generation stampings and I used my Wink of Stella pen to give them some shimmer too.

The cat was stamped with dye ink and then I used Copics to add some shading to him and a Distress Marker for the brown accents....I turned the corner of his mouth up just a bit to give this grumpy guy a hint of a smile.

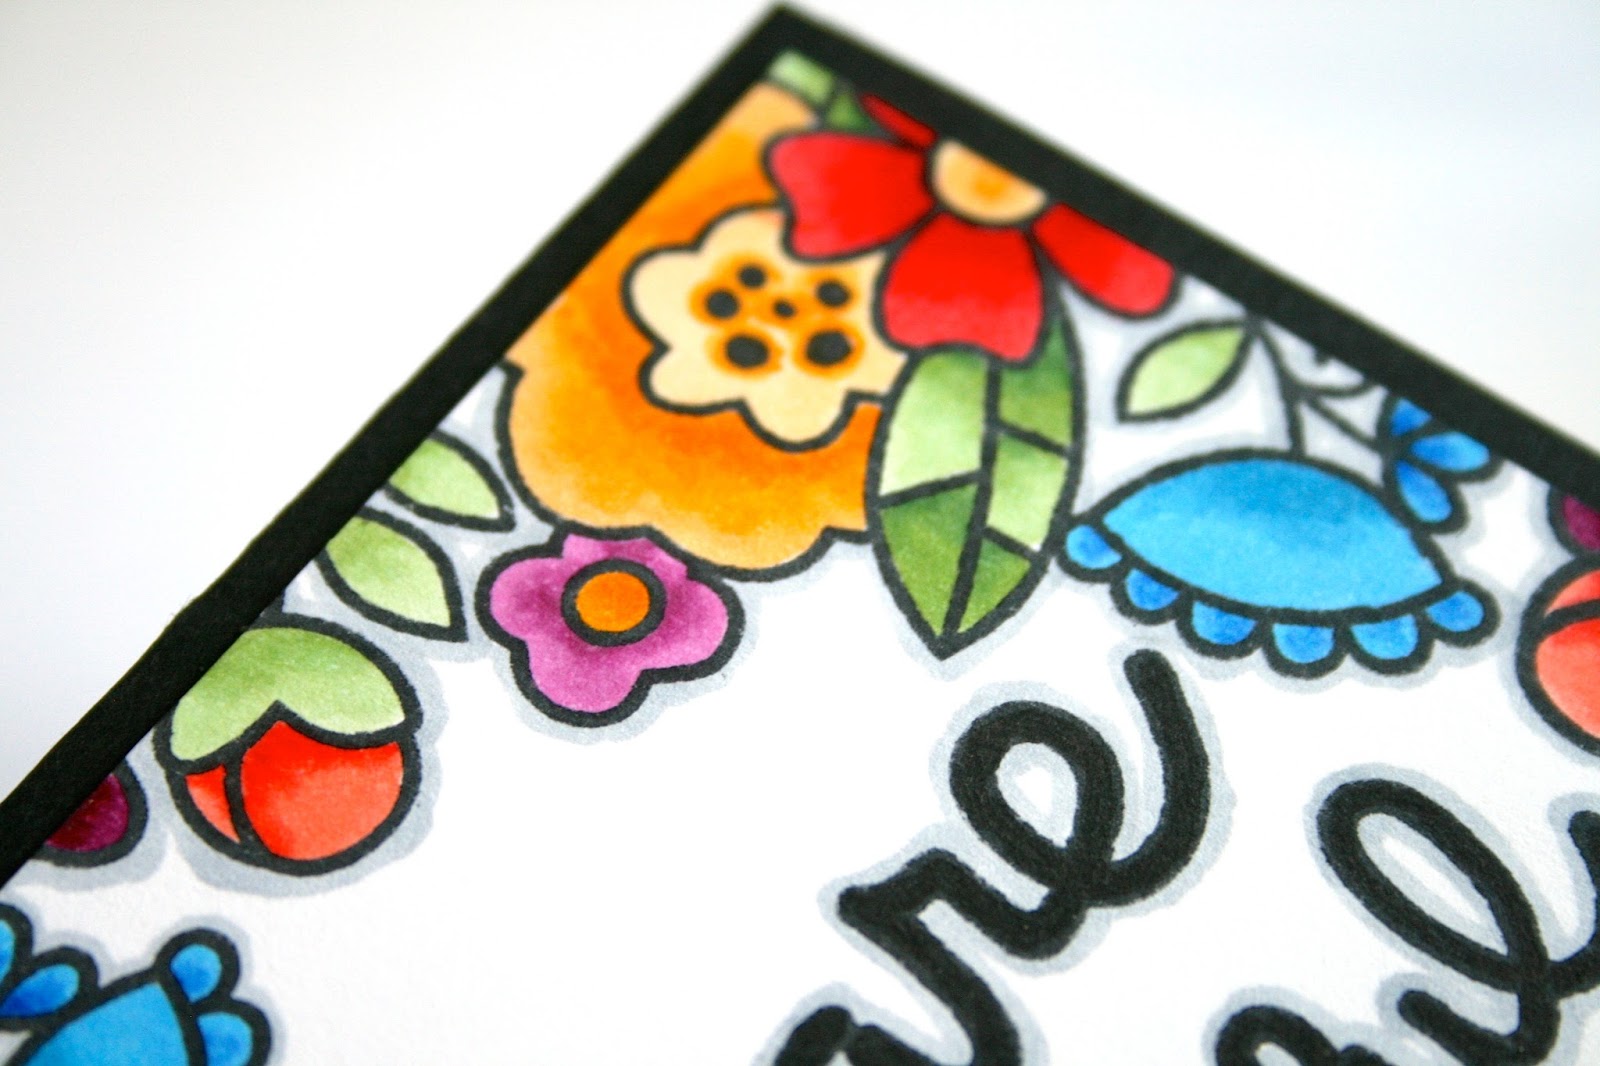
The sentiment is from Slang Gang.

Lots of dimension on this one, here you can see the layers that were created.


My next card features Ghoulfriends, this month's TAM stamp which you get for free with a $60 purchase.


Really a very easy card to create.  I first inked up my cardstock panel.  I was a little concerned about the intersection between the orange and purple, I didn't want it to be too brown/muddy, so I added just a little bit of dark pink color.  You really can't see it, but since it blends well with both orange and purple, I thought it would help the transition.

I created a little mask for that candy stamp and then stamped the candy banners with Versafine using the mask along the edges where they overlap.

I laugh everytime I see that crazy ghoul guy.  He is so funny, and he needed something to hold so I gave him a lollipop.

Since I used dye inks and stamped with Versafine, I was able to add a little interest by using a thin wet paintbrush to color in the ends of the candy pieces as well as the ghoul's eyes, mouth, and lollipop.  So easy to do and I really love how it highlights the stamped images.  A little Wink of Stella also gave it some glimmer.


The sentiment was embossed in gold on a little strip of black and popped up.

That's all for me today.  Hope you got a giggle from these, I definitely enjoyed making them!

Supplies Used
Card 1
Paper/Cardstock: Glitz - Sunshine in My Soul 6x6 pad; Fancy Pants - As You Wish 6x6 pad; CTMH - White Cardstock; Avery Elle - White Cardstock
Stamps:  Paper Smooches - Feline Friends, Slang Gang
Ink:  CTMH - Outdoor Denim, Goldrush, and Cocoa
Other:  Paper Smooches - Stitched Dies; Copics - Y32, Y35, Y38; Distress Marker - Gathered Twigs; Zig - Wink of Stella Glitter Brush Pen; Recollections - Foam Adhesive; Tombow - Mono and Multi Mono Adhesive
Card2
Paper/Cardstock:  CTMH - White Cardstock; Papertrey Ink - True Black Cardstock
Stamps:  Paper Smooches - Ghoulfriends
Ink:  Versafine; CTMH - Gypsy and Autumn Terracotta; Hero Arts - Raspberry Jam Shadown Ink; Versamark
Other:  Judikins:  Gold Embossing Powder; Zig - Wink of Stella Glitter Brush Pen; Recollections - Foam Adhesive; Tombow - Mono Adhesive


New Releases from Neat & Tangled! You can win them too!


Hey everyone!  I'm SO excited to be revealing my two newest Neat & Tangled stamp sets today!

Please meet Time Warp (3x4 stamp) and A Long Time Ago


I had so much fun creating the sets.  The sentiments cover a variety of occasions with just a bit of sarcasm.

I created two cards to share with you today.

First up this card featuring Time Warp.


I wanted to show the versatility of this stamp.  It works perfectly with Long Time Ago, but stands on it's own as well.  Here I paired it with a couple of the sentiments from Neat & Tangled's Photo Booth set.

To create the background I embossed it in clear embossing powder and then added Outdoor Denim ink.  Then I ironed away the embossing and stamped and embossed the sentiment in silver.  A mat of silver foil cardstock was just the right touch.


Change up the colors and it could mimic a sunburst, explosion, etc.  It would be the perfect background for a large word die and at the 3x4 size makes the perfect journaling card.

Here's my second card featuring Long Time Ago.


I combined/modified techniques from Jen Rzasa (taught in the Online Card Class Watercolor for Cardmakers) and Kristina Werner's card here.

Jen's card used a salt technique, but since I knew I was going to be heat embossing a smaller sentiment, I was concerned about getting a good inking and opted to use Kristina's method for making stars.

I love the technique, you get such a rich/deep background and so I kept the card very simple, no extras, although I did stamp on the inside.  You'll notice a bunch of smaller sentiments in the set that are perfect for stamping a message on the inside of the card.


One more little tip for those of you who have been caught by the watercolor bug.  This panel was definitely a little bit warped, but if you create a watercolor panel that you don't want to adhere with foam tape, the best adhesive I've found is CTMH Bonding Memories Adhesive.  It's one of those adhesives that is blue/liquid and has a foam type applicator you press to get the glue flowing.  I've seen them from other companies, and have tried some different brands.  Some work better than others, but this one works very well.  Just makes sure you have it where you want it because once it dries, that's it, there's no turning back.

That's all for me today, but of course I can't let you go without giving you a chance to win these sets.  This is a quick giveaway.  Leave a comment by tomorrow evening and I'll announce a winner Friday morning.

Please head over to the Neat & Tangled blog Danielle is also giving away a set of stamps and you will definitely want to see what the Design Team created!

Supplies Used
Card 1
Paper/Cardstock:  Avery Elle - White Cardstock; Recollections - Silver Foil Cardstock
Stamps:  Neat & Tangled - Time Warp and Photo Booth
Ink:  Versamark; CTMH - Outdoor Denim
Other:  CTMH - Clear and Silver embossing powder; Tombow - Mono Adhesive
Card 2
Paper/Cardstock:  Avery Elle - Fog Cardstock; Watercolor Paper from Target
Stamps:  Neat & Tangled - Long Time Ago
Ink:  Versamark; Memento - Tuxedo Black
Other:  Kuretake - Gansai Tambi 24 Color Painting Set; Stampendous - Detail White Embossing Powder; CTMH - Bonding Memories Adhesive

Tuesday, July 15, 2014

Waffle Flower June/July Challenge Take 2


Hey everyone, we are in our second month of the current Waffle Flower Challenge.  There are actually two challenges each month, a sketch and a technique challenge.

Here's the sketch:


Last month I made a card featuring this sketch, so I thought I would take on the technique challenge this month:


For this card I used the Loved stamp set.

It's a great floral building set which makes it kind of perfect for building backgrounds as well.

Stamping patterns doesn't come that naturally to me.  It usually takes me a few tries.  I find that I often stamp the images too far apart which means that it either looks too sparse, or once you stamp additional images to compensate, it looks too crowded.  My solution is to do a dry run on regular printer paper.  This helps me both determine which colors I want, but play with the spacing a bit.

The great thing about the Loved set is that there are a whole host of small 'filler' stamps.  I first stamped the larger flowers and leaves, and then I used the little dot stamps to fill in the background.

I loved the pattern and didn't want to cover it up too much, so I stamped and embossed the large frame on dark brown cardstock and fussy cut it....the fussy cutting was a bit of a challenge, but it got done with only a few boo boos which were easy to mask since I was adhering the entire image to the card base.....any little 'oopsies' were easily pieced back together at that time.

I stamped the frame again on white cardstock, and cut around the center oval just inside the line, stamped the sentiment, and popped it up for some dimension.


To ground the card a bit more, I cut a thin strip of white cardstock, and swiped it with my ink pad to match the large flowers.

I hope that you'll play along with the challenge.  You have until July 25th, and two winners, one in each category, will win the stamp set of their choice.

Supplies Used
Paper/Cardstock:  CTMH - White Daisy cardstock; Avery Elle - Truffle cardstock
Stamps:  Waffle Flower - Loved
Ink:  WPlus9 - Mojito, Coconut Husk, Miami Spice, and Flamingo; Hero Arts - Field Greens and Butterbar Shadow Ink; CTMH - Chocolate; Versamark
Other:  Stampendous - White Embossing Powder; CTMH - Dimensional Foam Tape; Tombow - Mono Adhesive

Monday, July 14, 2014

Stop & Toss Some Rocks - for The Crafter's Workshop


Hey everyone, I'm sharing a project that is up over at The Crafter's Workshop today as part of their One Stencil Four Ways series.

Today we are all working with the 12" x 12" Blazonry stencil.

I thought it would be the perfect stencil to use to create a layout from our vacation to Vermont last summer.

I first traced the design on my paper and then using a craft knife, cut out some of the shapes to create windows/frames for my photos.  This is obviously not the sheet I ended up using because I decided I liked the gray better, but it gives you an idea of how the layout came together.


I added some doodling around the cut out windows as well as on the insides of the negative cut pieces which I wanted to incorporate into the design as popped out pieces for some dimension.


To brighten the layout I also cut out some of the shapes from white cardstock and I used those for additional journaling spaces.

The photos were adhered to a base page, the stenciled/cut sheet was adhered over top and I added a stitched frame around the edges.

This was a really easy layout together, and I love how it focuses right in on the photos in a way that isn't overwhelming from a photo perspective....I was able to incorporate six 4x6 photos into this layout!

Please head over to The Crafter's Workshop blog to see how the other designers used the same stencil!

Supplies Used
Paper/Cardstock:  CTMH - White Daisy and Whisper cardstock
Other:  The Crafter's Workshop - Blazonry Stencil; American Crafts - 05 and 03 Black Journaling Pens, White Journal and Kale Wonder Thickers, Round This to That Foam Adhesive; CTMH - Craft Knife; Tombow - Mono Adhesive

Friday, July 11, 2014

Enjoy Your Big Day


Happy Friday!

Just popping in to share a card that I submitted for a recent call.  It wasn't picked up, but that means I get to share it here.

I really love the Phrase Play dies/stamps that PTI has released recently.  For this card I created a little 'scene' which was then die cut into the Phrase Play die.

The clouds are LID and the little sun is from Avery Elle.


Just a fun happy card for a Friday.  Hope that you have a fun weekend planned and are enjoying your summer.  For us it's been a great summer so far.  Andrew is a teacher so he has the summers off, and it's a much more relaxed pace around here with lots more time together as there isn't any grading that has to occur in the summer.

Lots of projects to share next week.....including the debut of two new sets that I've designed for Neat & Tangled!

Supplies Used
Paper/Cardstock:  Avery Elle - Silver Fox and Sea Glass and White Cardstock; PTI - Berry Sorbet and Lemon Tart Cardstock
Stamps:  PTI - Phrase Play #4 Stamp Set
Ink:  Versamark
Other:  PTI - Phrase Play #4 Die; LID - Clouds and Rainbows Dies; Avery Elle - Fill in the Blank Ellements Dies; Stampendous - White Embossing Powder; Tombow - Mono Adhesive

Wednesday, July 9, 2014

Guest Designing for Paper Smooches - Week 2


Hey everyone, today I am sharing a couple of cards featuring the new Blossoming Buds set.  I think this is my favorite item from this month's release.  The flower clusters are so pretty and I love the font of the big sentiments.

For my first card I wanted to create the look of an inlaid design - to have a color blocked cardstock background, but a watercolored floral.  I kind of puzzled over how to do this, and this is what I came up with.  First I cut six strips of watercolor paper.  I adhered them side by side on a scrap piece of paper with some removable adhesive, and then stamped the floral pieces with Versafine, following this up with Versamark and clear embossing powder over the original stamping.


Once this was complete, I removed the strips and watercolored the florals using distress markers and a waterbrush.  Then the 'background' of each of the strips was colored using Copic markers.  Finally, I used a scrap piece of cardstock to piece the strips back together and adhered one of the Kudos Word Dies for the sentiment.

Lots of steps, but really not that difficult.

My second card uses the same stamp set in a totally different way.  Here I wanted the florals to be really faint, almost as if they were printed on the paper/part of the paper.


I stamped the floral clusters with Versafine Smokey Grey ink in third generation, and then using  distress markers and a waterbrush I colored the images in.  I watered down the color a lot as I just wanted a very faint wash.  I did go over the outline a bit to emphasize portions of the design once the coloring was complete, but very faintly.


The sentiment was then stamped in Versafine in first generation, and I added a vellum mat to soften the transition with the card base.

Thanks for stopping by, hope your week is going well!

Supplies Used
Card 1
Paper/Cardstock:  Canson Watercolor Paper; Avery Elle - Silver Fox and White cardstock
Stamps:  Paper Smooches - Blossoming Buds
Ink:  Versfine; Versamark
Other:  Paper Smooches - Kudos Word Dies; Ranger - Distress Markers and Water Brush; CTMH - Clear Embossing Powder; Tombow - Mono Adhesive; Kuretake - Glue Pen
Card 2
Paper/Cardstock:  Canson Watercolor Paper; PTI - Kraft cardstock; Recollections - Vellum
Stamps:  Paper Smooches - Blossoming Buds
Ink:  Versafine Smokey Grey
Other:  Ranger - Distress Markers and Water Brush; Tombow - Mono Adhesive

Monday, July 7, 2014

Let's Dance


I realize that I have been bad about scrapbooking lately.  Not as bad as it looks from my blog....I've done several layouts for ongoing vacation albums, but not as much scrapbooking as I would like to.  So this weekend, I set out to make at least one layout.  I was amazed at how quickly this came together.  It's not as fussy as some of my layouts are, but I love the simplicity and sweetness of it.


This is a photo from my younger sister's wedding last year.  My girls are all about dancing at weddings, and they were excited about the dancing portion of the evening.  In fact, they appeared to be more excited than most of the guests for a large portion of the evening.  They did manage to get their cousin Collin (who seemed a bit unsure of the whole dancing thing) out on the floor for a bit, hence this photo.

I used several journaling tags from Maggie Holmes' Styleboard collection, a doily, a few Heidi Swapp hearts and Thickers.  That's it.  I was moments away from adding a bit of stitching, but in the end decided against it.


Scrapbooking is my first love.  I make a ton more cards, but I have to get back to scrapbooking every so often....there is much more of a purpose/meaning in it for me, it's something that I get to hand off to my kids some day, and whenever I do it I feel a little more centered and accomplished.

That's all for today.  Hope you had a great weekend!

Supplies Used
Paper/Cardstock:  Bazzill - Yuletide Gray; CTMH - White Daisy
Other:  Crate - Maggie Holmes Styleboard Journaling cards; Heidi Swapp - Acrylic Hearts; American Crafts - Goodness Thickers; Tim Holtz Tiny Attacher; Misc Doily; Tombow - Mono Adhesive

Saturday, July 5, 2014

Sunday School Songs Winner!

Hey all, hope you are having a nice weekend!  Just popping in quickly to announce the winner of the Sunday School Songs set.  Random.org chose comment #46 which belongs to......

LINDA T!!!!

Congratulations!!!  Shoot me an email with your address and I'll get this out to you.

Now back to our regularly scheduled holiday weekend... ;)

Wednesday, July 2, 2014

Guest designing for Paper Smooches - Week 1


I was SO excited to get an email from Kim Hughes a couple weeks ago letting me know that I had won the guest designer slot for July.  I'm a huge Paper Smooches fan, and I'm so lucky to have won this month because the release for this month is AMAZING!!!

I've got two projects to share with you today.

First up is a sympathy card.  We just recently lost our beagle Geronimo, so I know firsthand what a big loss pets are.  This card uses one of the silhouettes and a sentiment from Feline Friends.  I stamped it with chocolate ink, fussy cut and then clear embossed it.


The backdrop, which kind of reminds me of a hanging quilt was created using the cross stitch die from the Stitches dies set.  I'm not 'that' good.  I actually penciled in guidelines on my paper to use to place the die so I could get the rows even.  Then I die cut some additional rows with colored cardstock and inlaid them into the pattern.  A bit tedious, but I love the effect....I will also highly recommend the Silhouette Pick Me Up tool, invaluable for those tiny cross stitch pieces!  Oh and I actually used white cardstock and added a little color with a sponge tool to soften it.


My second card which I teased above features another of the stitches dies.  I cut a panel of Aqua Mist cardstock, and then I ran it through my die cutting machine repeatedly, altering the placement of the curved stitches die to create waves.


I then ran the die through with a piece of scrap cardstock and cut along the curve which I used as a mask, adding ink with a sponge dauber to create dimension (added the sponging before I adhered the card, but forgot to take a picture, the below just gives you an idea of how I did it).


The sentiments are from the Blossoming Buds set which is GORGEOUS and you'll see some projects that feature those images from me next week.

Thanks for coming by!  I'm really so thrilled to be guesting for PS!

Products Used
Card 1
Paper/Cardstock:  Avery Elle - Silver Fox, Fizz, Mimosa, Papaya, and Daisy cardstock; CTMH - White Cardstock
Stamps:  Paper Smooches - Feline Friends
Ink:  CTMH - Chocolate; Versamark
Other:  Paper Smooches - Stitches Dies; CTMH - Clear Embossing Powder; AC - This to That round foam adhesive; Tombow - Mono Adhesive
Card 2
Paper/Cardstock:  PTI - Aqua Mist and True Black cardstock
Stamps:  Paper Smooches - Blossoming Buds
Ink:  Versafine; CTMH - Heavenly Blue and Dutch Blue
Other:  Paper Smooches - Stitches Dies

Tuesday, July 1, 2014

Miss Mia


I got the urge to make a just for fun card last night, so I pulled out this sweet Jane's Doodles' image.  She's no longer available as a clear set, but she is available in digi form.

I colored her with a combination of Copics and Spectrum Noir markers.  I blend the two freely, and I will also admit that I am no coloring genius...I've picked up tips along the way, but much of what I do is experimentation.

I'm not all that pleased with the hair - I used a Copic blending trio on that but I really think it needs more accents, so next time I'll throw in some additional colors to make the highlights stand out some more.

I didn't have the right shade of cardstock for a mat, so I just cut a white mat and colored the edges with one of the Copics I used on her dress.

And, even though I made her just for fun, turns out it's Anything Goes week at Simon Says Stamp, so I'm linking her up there.

Thanks for stopping by, come back tomorrow, I have my first guest projects for Paper Smooches to share!

Supplies Used
Paper/Cardstock:  CTMH - White Daisy cardstock; AE - Fog cardstock
Stamps:  Jane's Doodles - Little Miss Mia
Ink:  Memento - Tuxedo Black
Other:  Spectrum Noir and Copic markers; Tombow - Mono Adhesive