Showing posts with label Flip Flaps. Show all posts

Wednesday, June 13, 2012

Carina's Fall Festival/Petting Zoo layout


After all that focus on cards and Gallery Idol last week, I have really been in the mood to scrapbook. I'm continuing to meander my way through the events of last year.

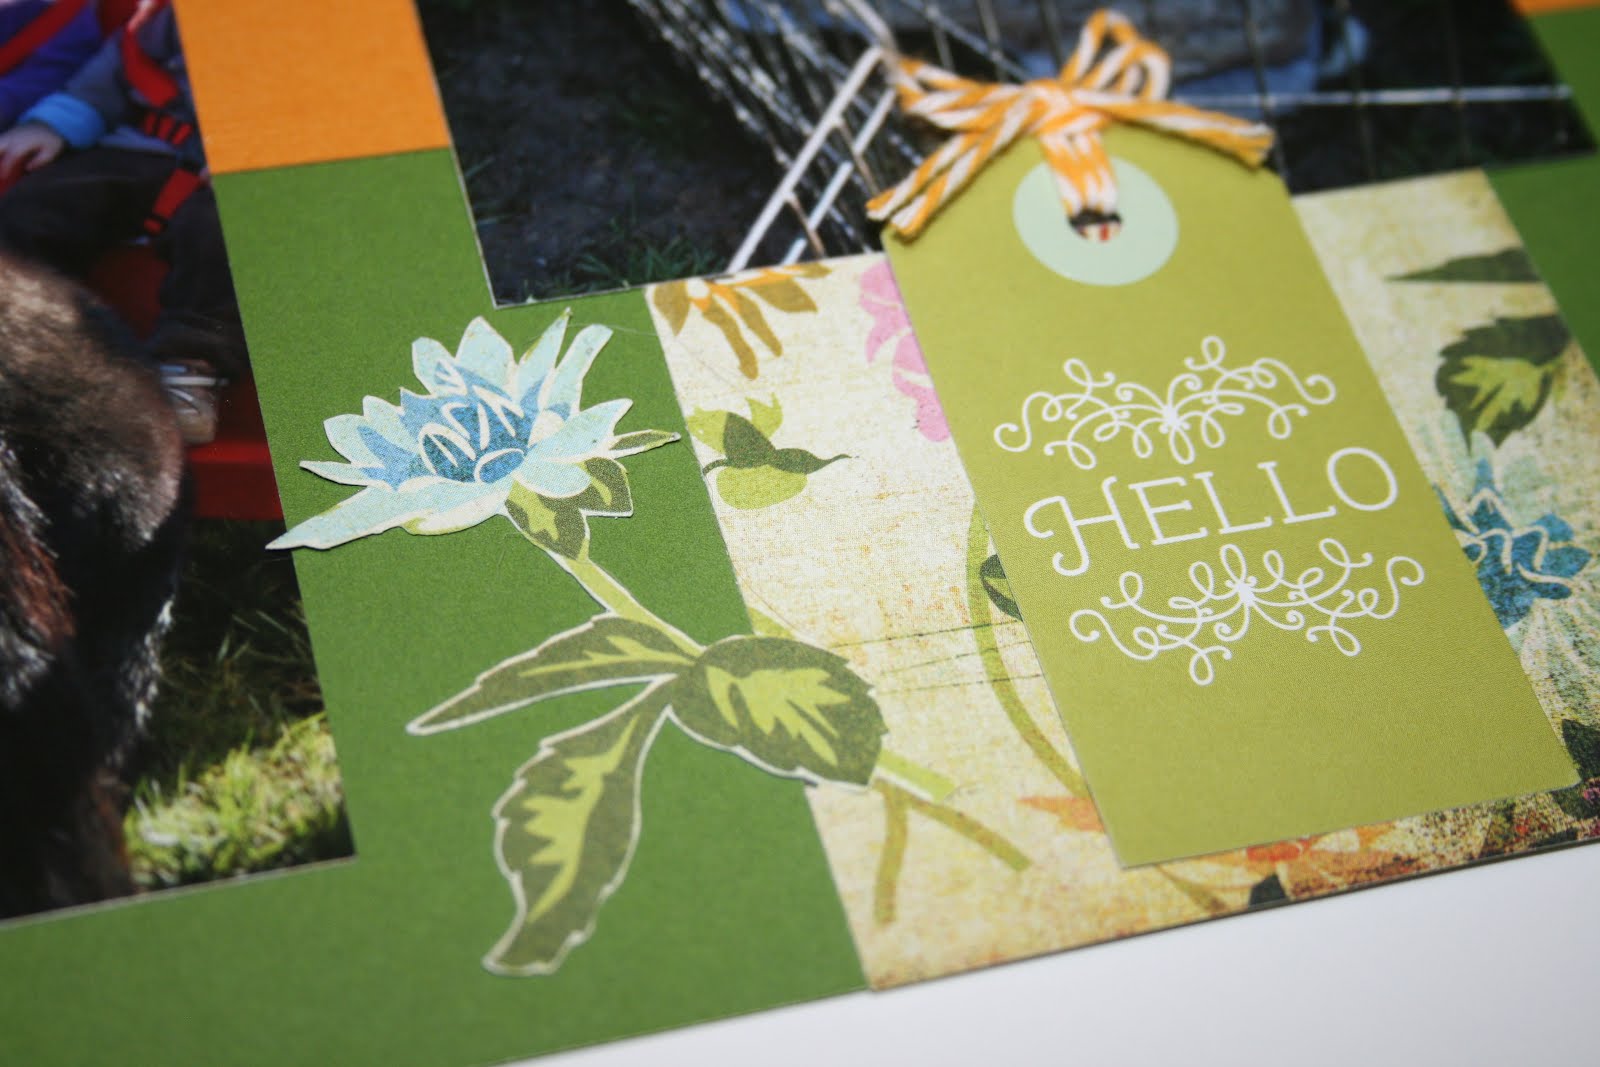
I'm using a lot of product from Cocoa Daisy's January kit, Tea and Cupcakes, for this layout. One of the papers, Basic Grey's Home Sweet Home, features these beautiful flowers. I used a strip of it on the right page, but ended up cutting out a bunch of the flowers to use as embellishments. This is time consuming, but I love the way it looks.


The title was made using Taylored Expressions new Tall and Skinny Alpha dies. I love the font and I used some Little Yellow Bicycle Hello Spring Jewel Stickers as the dots for the 'i's. The letters as well as the cut flowers were all run through my Xyron 5" Creative Station - makes adhering them SO much easier.


I used some of the embellishments that came in the kit, American Crafts yellow ric rac ribbon and tag, adding some Lemondrop Twinery twine to the tag.


When I got to the journaling, it looked a little too blocky/solid, so I used the Purple Cows summer punch and a corner rounder to soften the block and added some Colonial White cardstock underneath.

And, since I always have more photos than I can get on the page, I used a 4x6 flip flap to add two extras.


This layout just makes me smile. Hope you like it. Sorry that the photos aren't the best. I still struggle to take photos of the double pagers....I think I need (want) a wide angle lens.....

Supplies Used: Cocoa Daisy January kit, Tea and Cupcakes

Additional Supplies Used
Cardstock/Paper: CTMH - Topiary and Colonial White Cardstock
Other: CTMH 4x6 Flip Flap; Taylored Expressions Tall and Skinny Alpha Dies; Xyron 5" Creative Station; Little Yellow Bicycle Hello Spring Jewel Stickers; The Twinery Lemondrop twine; Purple Cows Summer Punch

Monday, April 2, 2012

Ellie's Fall Festival/Petting Zoo Layout


I know that I have mentioned it before, but I'll say it again....I LOVE FLIP FLAPS! How else can you cram 12 full size (or nearly full-size photos) onto a layout and still have plenty of space for journaling? Flip Flaps are the answer. You can take the layout above, and turn it into the layout below:


And while I love being able to include more pictures in my layouts (it takes me a long time to cull through my photos....I hate 'rejecting' any), the other thing I love about Flip Flaps is that it makes my layouts interactive. I can use them to do a better job of telling a story through a progression, showing a series of photos, and involving the viewer.

The papers in this layout are from the Pemberley Level 2 paper packet, and while they are not particularly fall-like, they are so pretty, and I have really been wanting to use them.

I'm using two Flip Flaps on this layout, and since they really don't photograph that well, this time I'm photographing them outside the page protectors/flip flaps. The first is the small 4x6 size on the left half of the layout, and the second is a 6x12 one on the bottom of the right half of the layout.

I'm lucky enough to work just 10 minutes from home, and even closer to where the girls are in daycare, so I can slip out when there are special events at school to help out/volunteer/take pictures. It's always interesting to me to see how Ellie is when she's in a group without me. She's always been very clingy (last year I didn't even attempt to attend this event because I figured that my being there would only end in tears when I had to leave), so I like to try and kind of sneak in and capture her in her more natural form before she sees me and starts acting all goofy.

I think most folks print photos in the 4x6 size, so my goal with this layout was to make it accessible. All the photos are either uncut or 4x4. There are 12 photos in total and two spots for journaling, but you could always convert that last 4x4 space to another photo if you needed. And really it just depends on how many photos you have. If you wanted to include more, you could use more of the full length Flip Flaps. You get an assortment of 4x12, 6x12 and 8x12 sizes Flip Flaps in each package.

The title letters were cut using the Cricut Art Philosophy cartridge and then I ran those as well as the hexagons that I cut out through my Xyron. I used a sponge dauber to add a little extra color to the letters which is really easy to do when you use the Xyron because they are stuck to adhesive sheet, so they don't move around on you.

This is actually the layout we'll be completing at my workshop this month. If you are in the Northern Virginia area and would like to attend, please contact me. Hope your week is off to a great start!

Supplies Used:
Paper/Cardstock: Pemberley papers; Desert Sand, Colonial White, and Outdoor Denim cardstock
Ink: Honey
Other: Flip Flaps, Cricut Art Philosophy Collection, Sponge Dauber, Xyron 5" Creative Station

Monday, March 5, 2012

Cute is Cool Layout


Another layout to share today. I'm definitely in a scrapbooking groove these days, and since that doesn't happen that often, I've been letting myself go with the flow because goodness knows sometimes it's hard to sit down and get myself to finish some layouts!

This is kind of a different layout for me. I tend to scrap events, and this is more a moment. Still, I can never choose just one photo, so my simple solution is Flip Flaps. I just love these and in this instance it allows me to keep my page uncluttered.....just two photos, but actually incorporate five of them.

There's a lot going on in this layout, I did some experimenting, so let me walk you through it all.

The background paper was created using the negative image from some flower cuts for this card. I had actually die cut the whole sheet, but didn't want to have the pattern on the full sheet of cardstock, so I used some scrap paper to mask the extra cuts. To make sure that the sheet stayed in place when I was misting it, I just applied Bonding Memories adhesive and let it dry slightly. This makes it kind of tacky and not permanent, so I could put it down and then pull it up. For the mist, I used chocolate reinker and a spray pen.

The little flower embellishments were additional die cuts cut at 1 1/4" and 1". In order to get a more defined stitch image (and cut down on the amount of threads I had to cut, I used my piercing tool to mark the center of the flower. Then I started sewing from that point out to the edge, lifted the presser foot and turned it around, and went back over those stitches.


Since the stitching adds bulk to the embellishments, I ran them through my Xyron. This helps to flatten them a little and ensures even coverage of adhesive.


I also ran the letters through the Xyron. Cute and is were cut with the Art Philosophy cartridge and the cool is the font/shadow combination from Teresa Collins' Sophisticated cartridge.

The first photo of this post shows the base layout. Below are photos of the layout with the Flip Flaps open and closed. Sorry for the glare - it's always hard to get good photos when the page protectors are on.


For the journaling, I misted another piece of 4x6 cardstock and added a decorative element to that and the bottom photo on the 'closed' layout using some additional negative scraps from the flower embellishments and a fancy stitch on the sewing machine to dress them up.

A helpful hint for Flip Flaps: instead of just sliding the pictures/journaling in, add a little adhesive between them so that they are flush and you don't see an inside edge peeking out.

Thanks for stopping by!

Supplies Used
Paper/Cardstock: Colonial White, Hollyhock, Chocolate
Ink: Chocolate
Other: Cricut Art Philosophy and Teresa Collins Sophisticated cartridges, Sewing Machine, Xyron 5" Creative Station, Bonding Memories Adhesive, Love My Tapes Adhesive, 4x6 Flip Flaps, Pigma micron pen

Tuesday, January 31, 2012

It's Scrapbooking Week!


Or at least that's what I've officialy declared it at my house. I've been having all sorts of fun making cards, but this week I wanted to focus on scrapbooking. I started this layout last week and am just finishing it up.

This was a trip to Charlotte (pronounced with the emphasis on the last syllabal) Beach in August. I have a TON of pictures from this outing and have been wanting to scrap it for a while. This is the first of two layouts (plus) from our outing.


I had so much fun pulling this one together. That ledger paper that I used is from a retired CTMH kit called You & Me, but if you like the look of it, it's very similar to a print in the Typeset collection. I had thought about using the patterned paper for the background, but since I only have a few sheets of it, and I love it, I thought this was the better way to go.


The little penants are some old Creative Memories cardstock that I have (sorry I don't know the names of the colors, and I'm pretty sure they are retired). The CM cardstock is a little thinner than CTMH, so I thought they would work better since I knew I was going to do some sewing on this page, which I haven't done a ton of, so I didn't want to add any more complication than absolutely necessary.


To create the penants, I cut 5/8" strips of cardstock and then cut those down to 1 1/2", 1 3/4", and 2" pieces. Then I used the corner of my square punch to create the penant shape at the end....much quicker and easier than tracing/cutting or eyeballing. Once I had a bunch of those cut out, I laid them out on the paper to figure out approximate spacing/see how many I needed. I used a tiny, and I mean tiny, bit of bonding memories adhesive just on the edge of the patterned piece to tack each one in place. Again, in the hopes of avoiding unneeded complication I wanted to make sure I wasn't going to have to sew through much, if any, adhesive. Once they were all on, I just sewed across. Yes, it's a bit time consuming, but it's not HARD. I'm not a huge fan of hard things, monotonous is OK...you can always do that while you watch TV ;).

The little corner pieces were cut using the Cricut Art Philosphy cartridge, I only used them on the outside corners because to emphasize the whole of the two-page layout. The title was cut using the Wild Card cartridge (Thanks Nikki Sivlis!). Once I got the layout together, I decided I needed a little bit in the top corners between the two pages, so I added a few more of the penants there.

This layout makes me so happy. It was such a sweet trip to a special place with Ellie and Andrew, somewhere we're unlikely to go again for a while now that my parents have moved away from there. I'm so happy to have captured it on cardstock for Ellie.

Now I mentioned that I have a TON of pictures of this, right? Well it's true, I could have done a whole mini album with all the pictures I took, but instead, I'm cramming them into two two-page layouts. How? The answer is Flip Flaps. I just LOVE these, they are the indecisive, picture happy girl's answer to scrapbooking. **apologies that these next pictures aren't that great...it's hard to get good photos when the layouts are in the page protectors, not to mention complications in photographing flip flaps, but hopefully this gives you a good idea of how they work and how the layout looks**

Now there is a little bit of an art to using Flip Flaps. You do have to plan ahead. What you saw previously is the basic foundation page for my layouts. Flip Flap layouts are kind of like a sculpture. You need to be sure that it looks good from all angles/stages in the flipping process.


Above is what the layout looks like in the album, with the flaps all closed. It's still a great story, and here's what it looks like with the flaps open....story still intact, but even better, you can see a progression, there's action and movement in the flip/flap process. Like I said, you could easily take this layout and break it up into four or five individual layouts, but when you're pressed for time, and you have stacks and stacks of photos calling to you, this is an easy, economical way to include them.


I've started the second layout and hope to have that one done shortly. So stay tuned for Part 2.

Supplies Used
Paper: CMTH - Bamboo cardstock, You & Me Papers; CM - Maroon, Blue and Sand cardstock
Other: Cricut Art Philosophy and Wild Card cartridges; Sewing Machine; Flip Flaps

Tuesday, July 19, 2011

Open House


I wanted to share with you some of the projects that I completed for my first Open House last week. I made the little picks above for fruit 'stabbing' purposes. I got these picks from Target and they were perfect because they are flat at the top, perfect for using the Tombow, and very easy to do...this was a good TV watching project, and a great way to feature other uses for my CTMH stuff.


Another, 'other use' for CTMH projects. Kind of a birth announcement in a dual frame. This would be a great baby gift, and so easy to do do!


Finally, saving the best for the last. Flip Flaps! I'm currently finishing up some albums that are not the drop-in style, but I just HAD to showcase a page with Flip Flaps at the Open House. I love these things! I seriously think that the first thought that went through my head when I saw Flip Flaps for the first time was, "where have you been my whole life?" How versatile, and how easy to use. How many times have I sat and debated and debated which pictures to leave out because I didn't have enough for two whole layouts? Never again. I love how easy these are to use, how you can hide journaling, and how you can layer similar pictures to make a kind of flip book. So much fun!


CTMH Products Used:


Picks - Strawberry from 'Summer Days' Stamp Set, Fireworks stamp from 'Jubilation'; Bamboo/White Daisy/Twilight Cardstock; Black/Cranberry Ink


Frame - Small Friendship Alphabet stamp set; Bamboo/White Daisy cardstock; Bamboo and Desert Sand (sponged on edges) ink; Edge Distresser


Flip Flap Page - Cocktail Alphabet stamp set; Garnet ink (second generation); Flip Flaps, Memory Protector