Showing posts with label waves of Change. Show all posts

Tuesday, May 21, 2024

Altenew Wave Panel

*This post contains affiliate links to Altenew and Simon Says Stamp. 


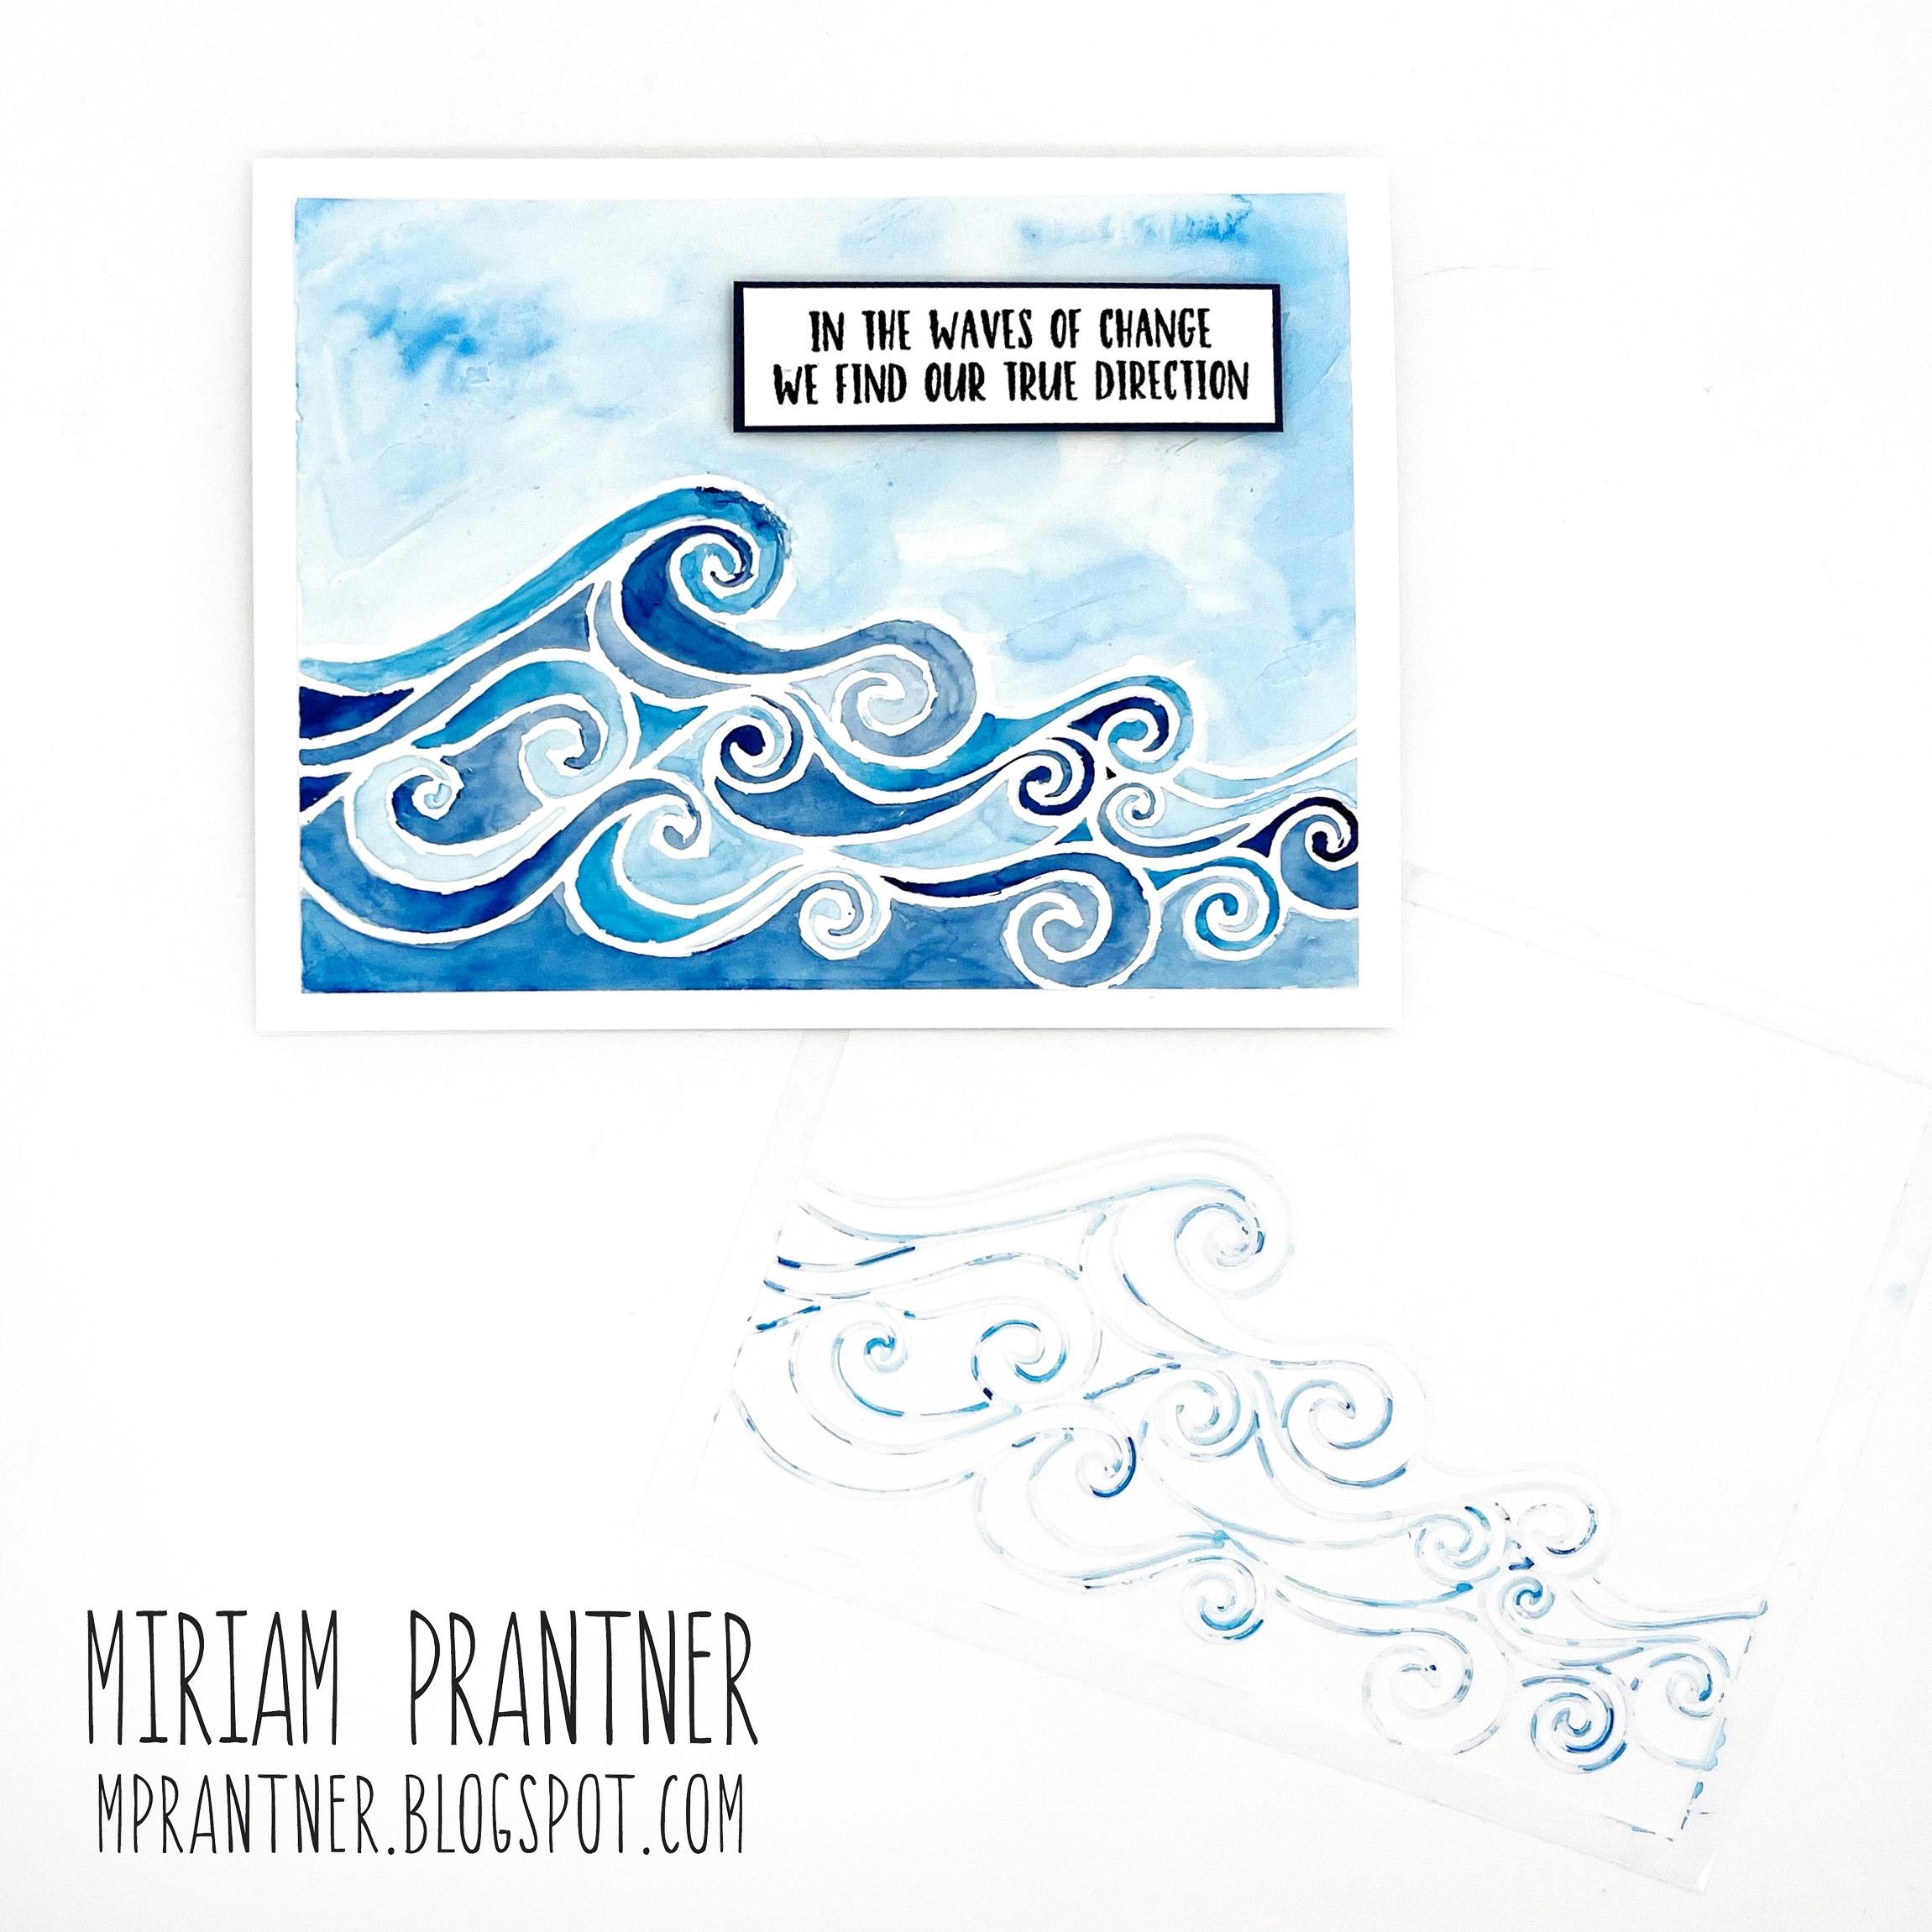
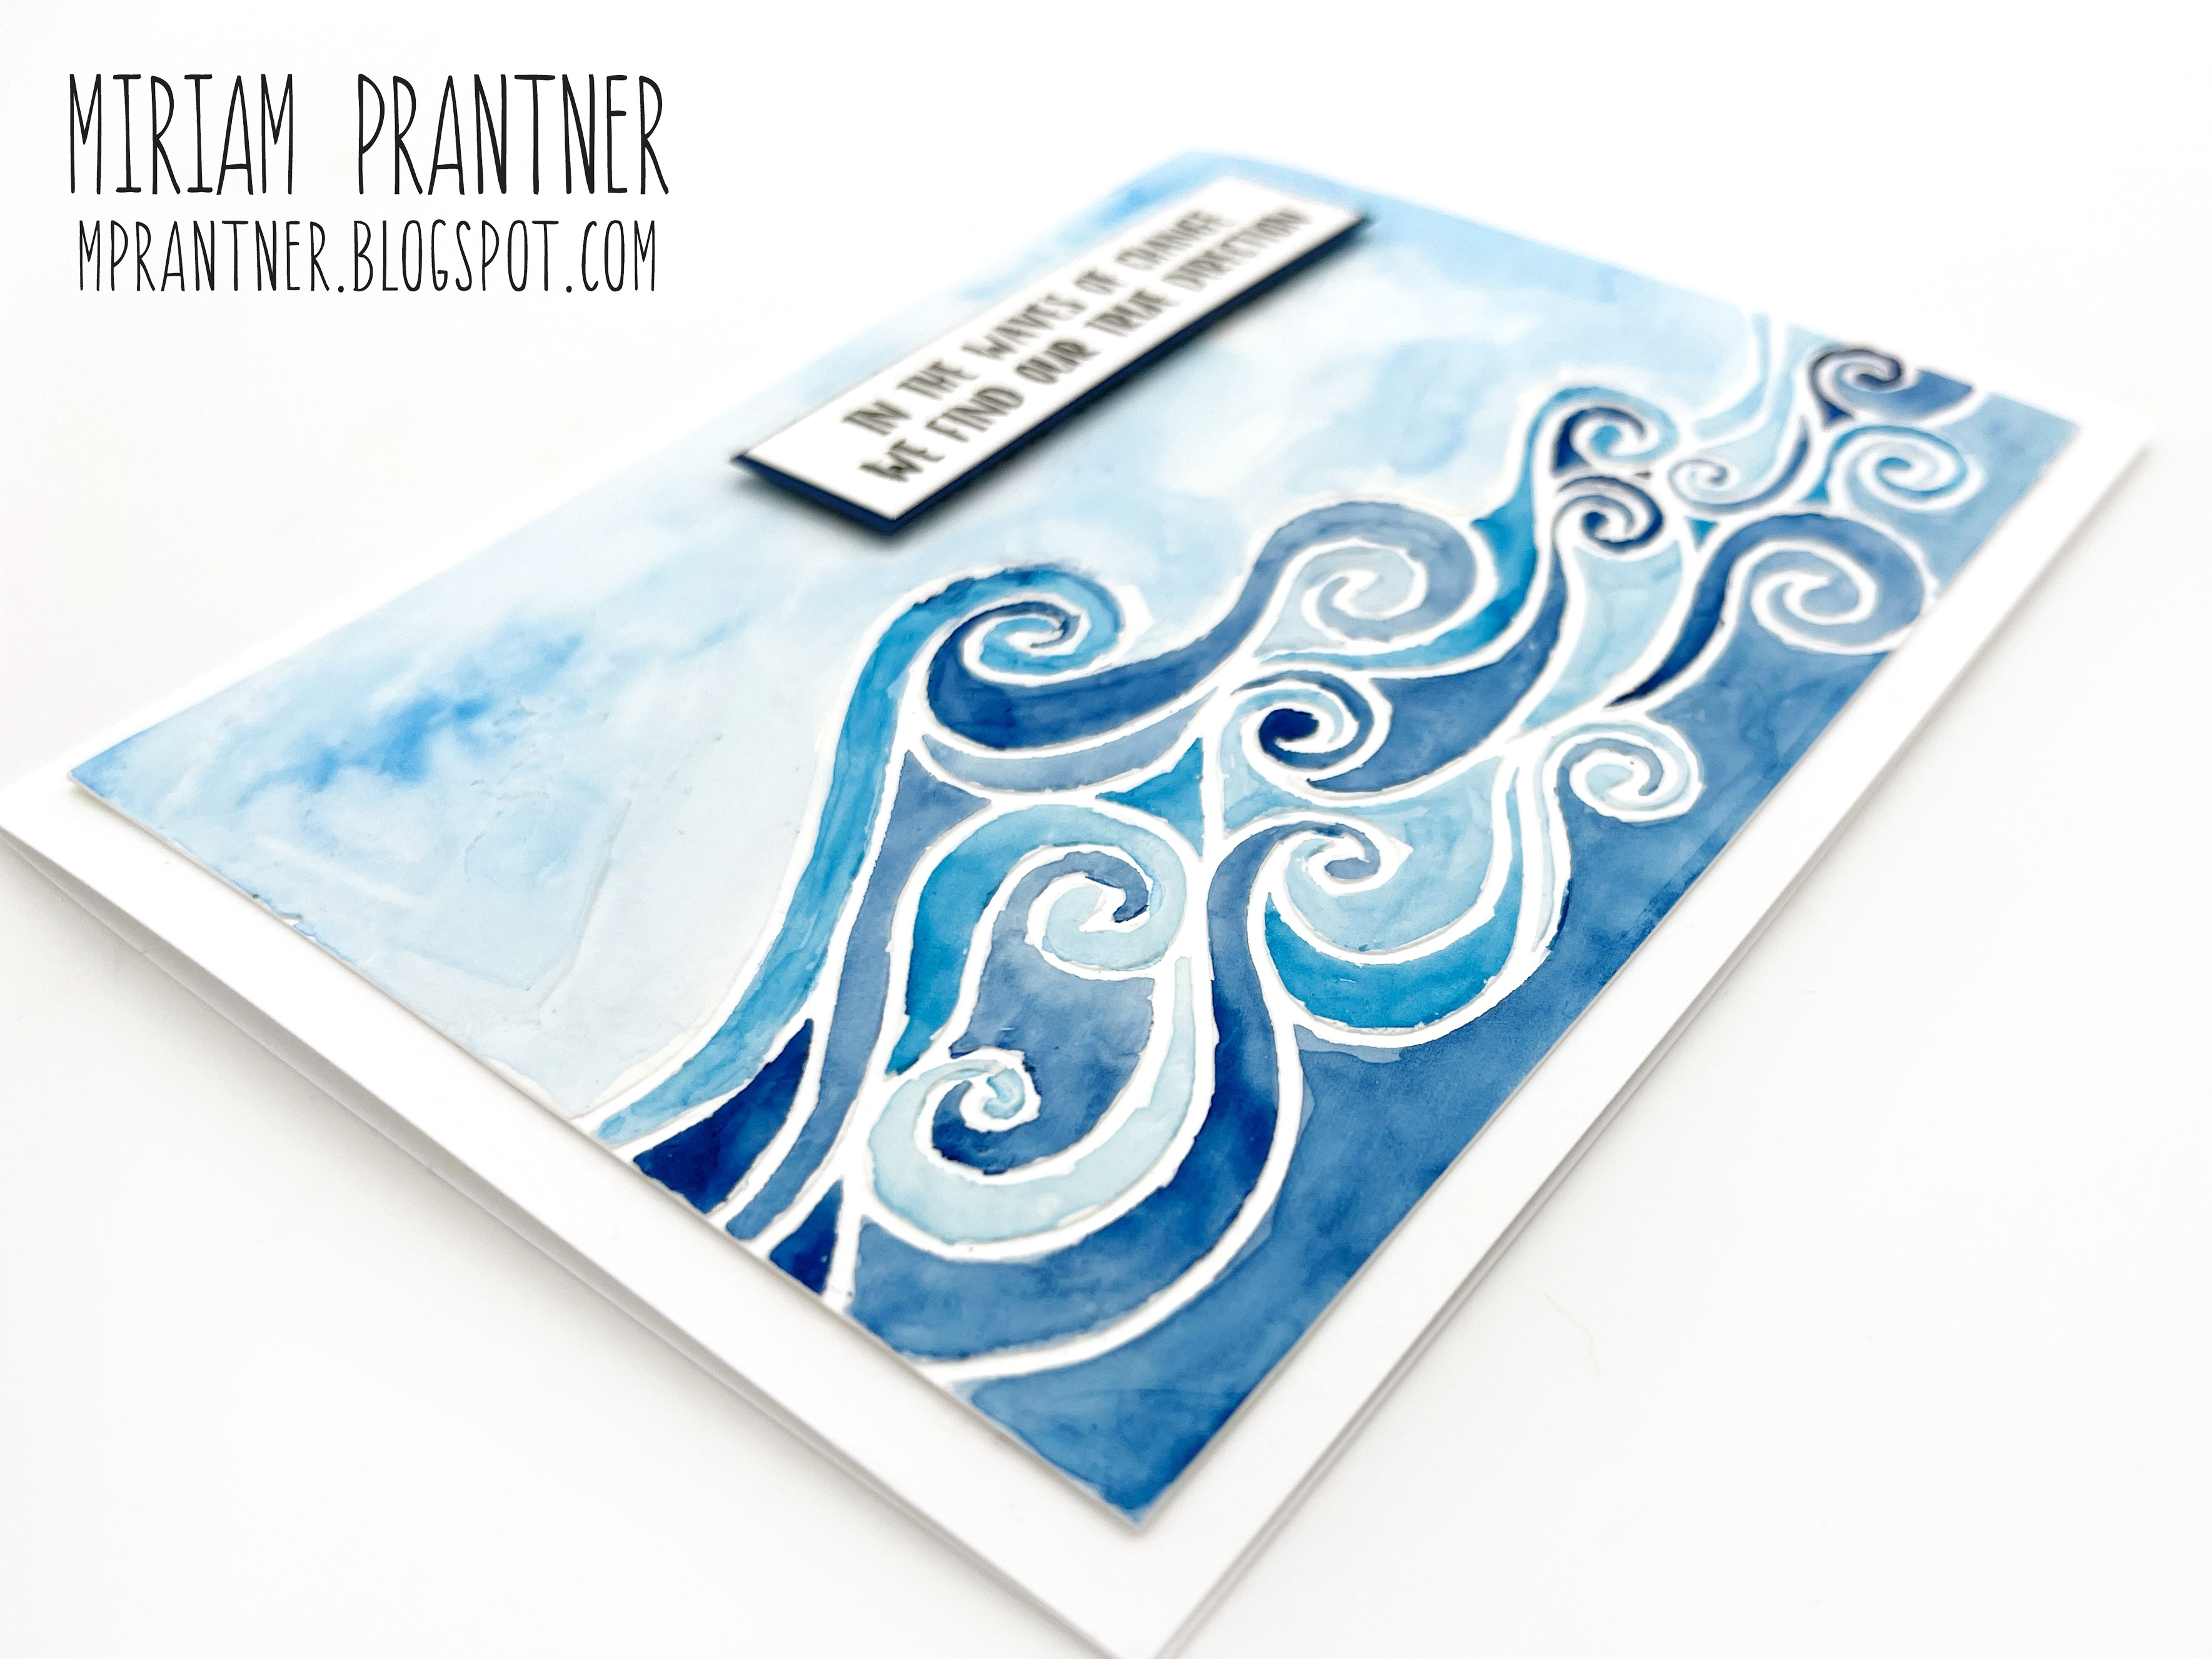
I had some time to create just for fun this weekend, so I pulled out this Wave Panel die from Altenew that I picked up at the end of last year.

I wanted to color the background, so I started by die cutting the panel from Neenah Solar White cardstock.  All the pieces were then adhered to a base piece of printer paper that I covered with adhesive.  The piece was then run back through my die cutting machine with a piece of printer paper over top to protect it.  Doing this ensures that all the pieces are totally adhered, and essentially creates a paper with subtle lines that is easy to color.

I used my Copics to color using BG09, BG15, BG45, and BG11 for the waves (darkest to lightest), BG11 and B0000 for the sky, and just a bit of N1 at the bottoms of the wave caps.


Once my coloring was completed, I die cut the panel again from Simon Says Stamp Glossy Black cardstock.  The outline piece was then adhered over my colored piece.

The completed panel was adhered to a piece of white cardstock, I added a sentiment from my Waves of Change set as well as a teal mat, and that was that.

I really love how this turned out.  THe use of the Glossy Black outline adds some much dimension.

That's all for me today.  Thanks for visiting!

Friday, July 28, 2023

SSS Just a Note Blog Hop, So Swell

 *This post contains affiliate links to Simon Says Stamp.


Happy Friday!  Today I'm taking part in Day 1 of a two day blog hop celebrating Simon's new Just a Note release.  Every good hop includes prizes and there are plenty to be had today.  Simon is giving away a $25 credit to the store at every step along the way.  Not only that, but there's a free stamp set up for grabs with any order this weekend.  Just follow the directions in the graphic above to get yours!

You should be arriving here from Heather Ruwe's blog.  I'll have the full blog list at the end of this post in case you get turned around.

My cards today feature my second new sentiment set in this release, So Swell.  This set includes three large sentiments and three smaller coordinating sentiments.  There are also coordinating dies.

When I created this set, I had the Waves of Change stencil and stamp set that I designed a couple years ago in the back of my head.  This first card features the stencil


I started by creating three stenciled panels by first inking the waves with Cadette and Marine ink, leaving the stencil in place, and then spreading paste over the inked areas.  Once the three panels were dry, I fussy cut them into creating three layers.  

The first was adhered directly to my white panel, the second adhered with foam tape over the first, and the third adhered with foam tape over the second. 


The sentiment was then stamped using Versafine Clair black ink.


These next two cards feature my Waves of Change stamp set.  I created a basic and stepped up version.


I rarely make true one layer cards, but these products made it so easy!  I first stamped the main 'solid' image using Seafoam directly onto my card base.  I then placed the accent layer, and stamped that twice using Seafoam to get a darker shade.

The sentiment was then stamped with Versafine Clair.


So simple and easy, but love the impact!

For the stepped up version of the card, I stamped the first two layers as I had done previously, and then I added the detailed line image with Surf ink.

To add a bit more depth to the stamped images, I added some details and additional color using my BG10 and BG13 Copics.

The wave was then fussy cut and trimmed down to match the width of my panel.


I added a bit of shading using Seafoam to the top of the card as well as just behind where the top of the wave was going to sit.

The sentiment was stamped, again with black Versafine Clair, and then the wave piece was popped up with foam adhesive.

This final card features another great Simon stencil, Waves.

The stencil was placed over my panel, inked with Morning and Twilight inks, trimmed down and adhered to my panel.


I then stamped the sentiment with Versafine Clair, and die cut it using the coordinating dies.

I also white embossed one of the secondary sentiments on a strip of black cardstok.


Both sentiments were adhered with foam tape.


That's all for me today.  Don't forget to leave a comment to be entered to win.  Your next step on the hop is Emma Williams, and the full list is below for reference.


Simon Says Stamp Blog
Nichol Spohr
Cathy Zielske
Jennifer McGuire
Laura Bassen
Suzy Plantamura
Barbara Tarayao
Keisha Charles
Mindy Eggen
Heather Ruwe
Miriam Prantner
Emma Williams
Alberto Gava

Enjoy the hop, and good luck!

Tuesday, July 5, 2022

SSS Waves of Change, Painting Stenciled Images Two Ways

 *This post contains affiliate links to Simon Says Stamp.


I was inspired by our trip to the beach to pull out the Waves of Change stencil I designed for Simon Says Stamp last Stamptember.  I'm using it to share two ways to paint with stencils.

For both techniques, you want to spray your stencil with some removable adhesive so that it's tacky and sticks to your paper.  I use Pixie Spray.

This first method uses paste.  The stencil was placed on a panel of watercolor cardstock, and I spread texture paste across the entire stencil.


Once the paste was dry, I used watercolors to paint the paste.  For the waves I used just two shades of blue, but I varied the saturation of those colors between the sections.  

I used a third, lighter shade for the sky.

Often when using paste I like to spread it very evenly, but when I'm going to paint it, I don't mind the extra texture because I think it adds a lot of interest and depth to the painting, you can see that particularly in the sky.


For this next card, after cleaning off my stencil and respraying with Pixie Spray, I again placed it on a piece of watercolor cardstock.


While the stencil was in place, I painted the spaces with watercolors.  Again, just using a couple of shades of blue but varying the saturation.


Neither of these methods is particularly precise, but using this technique, especially with very small areas, you can get a bit of bleed over.

My solution for that is to let the panel dry - not overnight, but dry to the touch.  Then, I take a slightly wet brush and wipe it across the stenciled area.  Be very careful that your brush isn't too wet.  This results in a little bit of ink bleed across the stenciled sections and softens those areas.  It's kind of like when you are inking with a stencil and remove the stencil and ink over the area so you don't have those bright white sections that were covered by the stencil.


I also added a bit of splatter using both of the blue colors as well as white watercolor.

The sentiments for both these cards are from my Waves of Change stamp set.

Again, you won't get a very crisp clean result from these techniques, but a more dynamic, textured look which can be a lot of fun too.

Thanks for stopping by and hope you all had a great fourth!