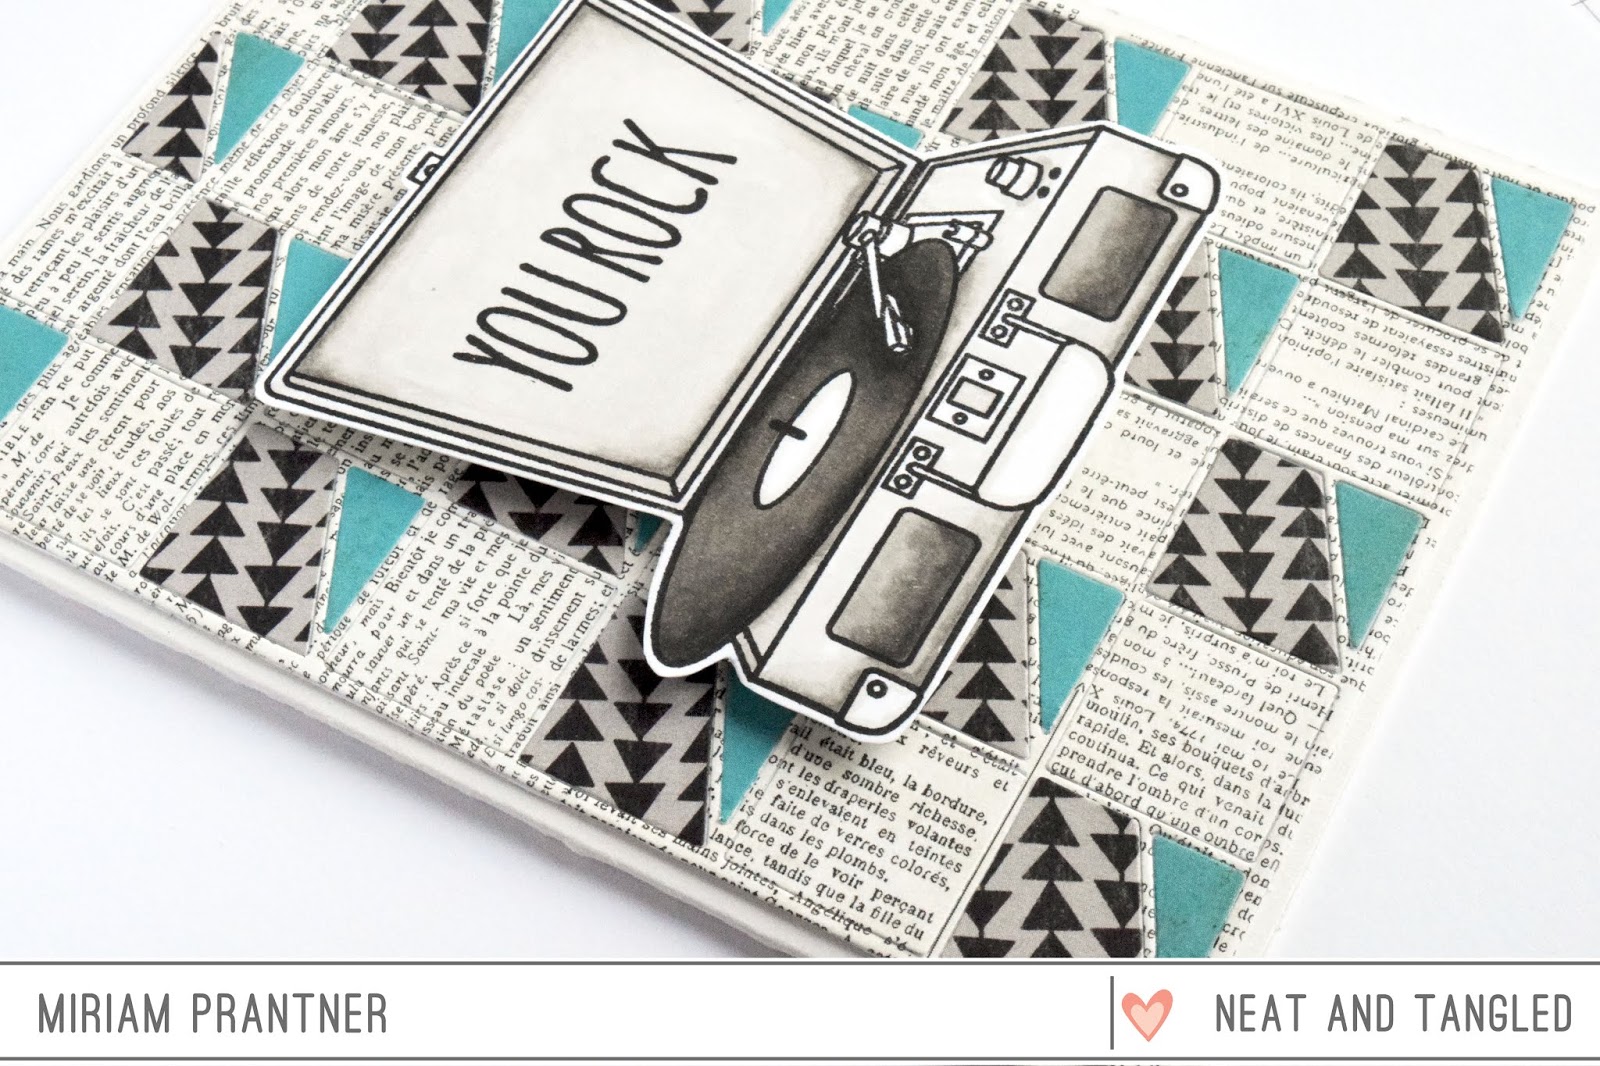
Showing posts with label Journaling Alpha Dies. Show all posts

Tuesday, October 11, 2022

SSS Cozy Hugs, Batty for You

 *This post contains affiliate links to Simon Says Stamp


Happy Tuesday!  Hope everyone in North America had a nice long weekend!

I'm sharing a fun card today featuring the Batty for You set from the Cozy Hugs release.

This is a really cute set that gives you several options for personalizing your bat with multiple smiles and eyes.

I started by stamping my bat body and wings with Gina K Black Amalgam ink and then coloring him with Copics using my neutral grays.


The branch was just hand cut from a scrap of black cardstock.

The background was inked using blending brushes.  I started with a very light application of Lemonade at the top, and then added some purples, using Heather, Twilight, and Iris.

I needed a skinnier alpha for this, so I pulled out my old Journaling Alphas for Neat & Tangled.  The letters were die cut from white cardstock, which I softened just a bit with a very light application of Lemonade ink.


All of the pieces were adhered to my inked panel except the body of the bat which was popped up with foam tape.

This was a fun one to make.  Thanks for stopping by!

Thursday, June 6, 2019

Coloring Stencils Two Ways with SSS Rest and Refresh Release


Hi everyone!  Have you seen the new Rest & Refresh release from Simon Says Stamp?  It was just released today, and if you love nautical, this is the release for you.  The folks at Simon sent me the new Buoys stencil to play with.  Today I'm going to show you two ways to color with stencils.

For this first look, I cut a panel of watercolor cardstock and then used regular embossing paste over the stencil.  Once the paste was dry, I carefully painted the paste with watercolors.  The nice thing about watercoloring embossing paste is that it behaves a lot like watercolor paper, so if you use a color you don't like, or make something too dark, you can easily dab paint away/remove paint.


I finished the panel off with a punny sentiment created using Neat & Tangled's Journaling Alpha Dies and a sentiment from the N&T's Celebrate stamp set.  The Alpha dies were cut twice and adhered together so that they had a little bit more substance to them, and then I cut the tiniest slivers of foam tape so they could be popped up over the card.


For this next card, I colored the stencil using a no-line coloring technique.  I've colored with stencils before where I traced the stencil spaces like in this card (and before you go over to that post, let me just say that sometimes I cringe at my old photos because they are so dark).  But for this card, I figured out a much easier way to trace the stencil, and that is to ink it with a very very light color.  I took a quick snapshot with my phone so you can see what this looked like (forgive the very dim photo).


I used a ton of Copics on this card, but basically I had several different color trios that I then used randomly to color the different buoys.  This took A LOT of time to color, but I think that the results are definitely worth it.

For the sentiment, I again used the Journaling Alpha dies and then a sentiment from N&T's Typed Sentiments set on one of the Skinny Strips dies.


So there you have two very different ways to color with stencils.  I hope you'll give these techniques a try!  

And be sure to stop by Simon Says Stamp to check out the new release!

Thursday, June 7, 2018

Neat & Tangled June Release and Giveaways - Day 4


It's the last day of June release reveals and today we're showing off my newest stencil and cover plate design, Receding Blocks.  Let's start with the stencil.

For this first card, I selectively inked the stencil using Altenew inks (Warm Sunshine, Orange Cream, and Autumn Blaze).  I used post it tape to mask off areas while I was inking and then just moved the pieces around from section to section.


The sentiment was created using the Journaling Alpha dies cut from adhesive backed foam, paired with a sentiment from So Many Sentiments embossed on a strip of black cardstock.


For this next card, I inked up the stencil using Limestone and Silver Stone Altenew ink.  Then I misted the piece with water and once it was dry, trimmed it down.


For the sentiment, I pulled out this older Hello die.  I die cut it three times, twice from white and once from dark gray cardstock, adhered them together and then to panel which was popped up on my card base.

Now onto the cover plate:

I feel like I always use cardstock with my cover plate cards and goodness knows I have enough patterned paper, so I put some of it to work.  For this one I went with more subtle patterns.  I finished it off with this hilarious hot dog image and sentiment from Elena's new mini, appropriate called, Hot Dog.


Doesn't that guy make you chuckle?  I had lots of extra pieces from the first card, and wanted to kind of amp things up, so I picked another bolder patterned paper and created another card.

The background had kind of a retro vibe for me, so I pulled out another older set, For the Record, and stamped the main image, coloring it with neutral Copics.


The image was then fussy cut and popped up over the background with foam tape.


That's all for me today.  Head on over to the Neat & Tangled blog to take a look at what the rest of the team created as well as to check out Elena's Hot Dog set.  You'll want to leave a comment there as Danielle is giving away today's featured sets to a lucky commenter.

I'm also going to be selecting some random commenters from this week's posts to win some of my new release goodies.  To be entered, leave a comment on any or all of my release week posts.  You can get some extra entries by heading over to my IG post today (@mprantner) and following the directions there.  I'll be announcing winners tomorrow morning.  Good luck!

Tuesday, November 7, 2017

N&T November Release Week Day 2 - Giveaways


Hi all!  Today we're showing off a new set from Elena called Christmas Pageant.  It's got four of her cute kids dressed up for a Christmas pageant.  My favorite is this little boy with the star, and I thought it would be fun to make a non-Christmas card with him.

I started by cutting a star from a panel of Navy cardstock.  Then I used Versamark to stamp some stars using the cluster from the Very Merry set. 

The little boy was stamped, colored with Copics, and then die cut. 


The sentiment was created using sentiments from the Faceted set stamped on one of the banners from the Scalloped die set, and the Journaling Alpha dies that were cut using adhesive foam. 

OK, you definitely want to head over to the Neat & Tangled blog now to check out what the rest of the team made and to enter to win this set.

Don't forget to leave a comment here as well,  I'll be picking some winners for my new release products.  See you back here tomorrow!

Wednesday, May 10, 2017

(Grand) Mother's Day Dinner


I scrapbooked!  Actually it's not that bad, I've been scrapbooking semi-regularly of late.  I'm trying to finish up our vacation scrapbook from last year.  My goal is to have it done before we leave for vacation this summer.  I should be able to do it.  I'm about halfway through the trip right now.

Anyway, Saturday was National Scrapbook Day.  I love NSD because although I don't normally get to do a ton of scrapbooking on the actual day due to running kids all over the place, there are always lots of challenges and inspiration (and giveaways) to enter.  The good news is that several of the challenges give you a week or so to enter which is often a great jump-start for my scrapping.

This year I won't be able to get as many challenges done because I'm forcing myself to work in a vacation layout between challenge layouts, but here is my first challenge layout.

For this layout I pulled out a bunch of my Neat & Tangled dies.  The background was created using the largest of the dies from the Triangle Pattern Builder set.  I cut the triangles from white cardstock as well as a seriously old Teresa Collins print.  The patterned paper has a bit of texture to it which adds some extra dimension.  The triangles were arranged in a quilt pattern with some of the triangle pieces missing/blank.


Once the background was complete, I added the photos/mats.  The title was created using my Journaling Alpha and Number dies and adhesive foam.  I popped the title piece up so I could slip the tag (Classic Tag 1 from Neat & Tangled) which was cut from another piece of that Teresa Collins (Tell Your Story) collection behind it.


I'm linking this up with challenges at Studio Calico, Big Picture Classes and Scrapbook.com.  Hoping to get a few more done before the challenges all close. Thanks for stopping by!

Tuesday, November 29, 2016

Peace on Earth


If you follow me on Instagram, you know I've been coloring some Christmas images.  This is one of my all time favorite images, and today I'm casing one of my previous cards.

Really simple, he's stamped with Memento and colored with Copics.  I used my Journaling Alphas dies for the second part of the sentiment.  I ran the letters through my Xyron - I think it's the quickest and easiest way to apply little die cuts.


A couple patterned paper mats finished it off.  I'm really in crunch mode on the Christmas cards now, but the end is in sight!

Wednesday, June 8, 2016

Neat & Tangled meets We R Memory Keepers


All this week we're featuring projects using We R Memory Keepers DIY Party supplies on the Neat & Tangled blog.

I received one of the new Alphabet Boards as well as some of the paper packs that are specifically sized for the Alphabet Boards.  I have a couple of the WRMK boards, and I have to say this is my favorite one.  It's going to get a ton of work at our house, perfect for party banners and school projects.


For the collaboration I wanted to create a layout.  I made the title the star of the show spelling out rainbow with the Alphabet Board.  I used a black marker to define the edges of the letters.  It's hard to tell, but I think it does give it a crisper look.

The photos are placed so that you can see Ellie in the spaces in and between the letters.

For the top row of letters, I didn't adhere them fully.  I added some flaps of white paper so that they flip up, the journaling was then written underneath, and this allows you to see the top two pictures in total.
The first part of the sentiment was created using adhesive foam and my Journaling Alpha dies.

I also created a card, here's a little sneak peek.  Stop by the Neat & Tangled blog to get all the details!


Thanks for visiting!

*Affiliate Links Below

Thursday, May 19, 2016

Neat & Tangled Release Week - Day 4


Day 4!  Last day of release reveals, and tomorrow they'll all be available in the store.  I am really excited about today's reveal.  

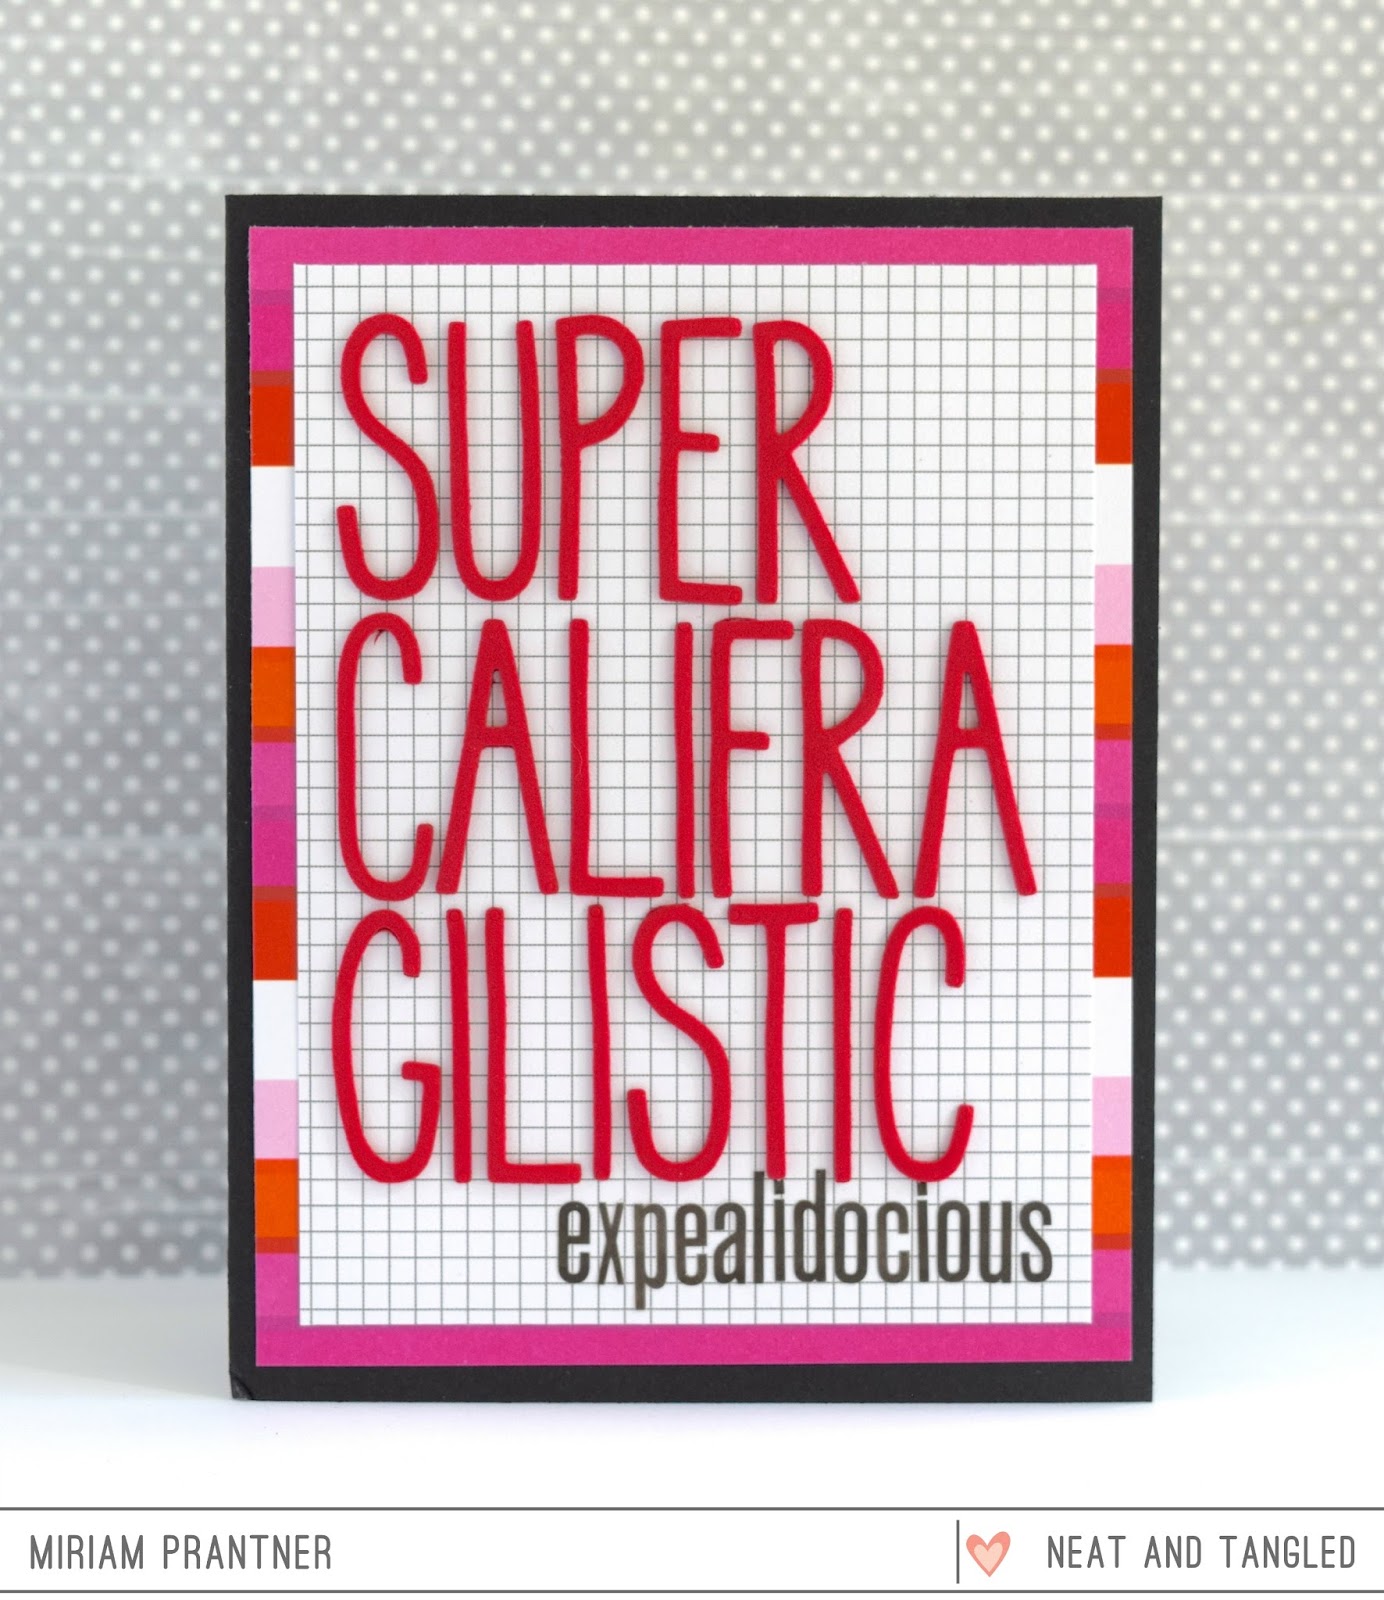
When I created the font for my Bible Journaling stamps, I had in the back of my mind that these would make for a great set of alpha dies.  And part of the reason I wanted them as dies is because I wanted to make my own Thickers.  I have spent a small fortune purchasing Thickers, and of course you always run out of the vowels and are then left with a bunch of consonants.  Plus, I lean towards tall and skinny when it comes to thickers and so there are only a few styles out there that fit in that category.

So as soon as I knew these were on their way to me, I went and ordered some adhesive foam sheets, so I could make my own Thickers.  You'll be seeing these on layouts in the future, but for today I just whipped up a quickly little card.


So fun and easy (the grid paper really helps with lining up).  And they went through my Big Shot like a breeze!

I do want to mention that these are actually a bit larger than the Bible Journaling stamps.  Those are about 1" tall and these are 1 1/4".   This photos is a good comparison:


Want the details on the giveaways?  Well each day of our reveals (Monday - Thursday) Danielle is hosting a giveaway on the Neat & Tangled blog.  In addition, she's picking one random commenter from the DT blogs throughout the reveal for a $25 credit to the store.

I'm also hosting some giveaways here for some of my new products.  Just leave comments throughout the week and I'll draw some winners at the end of the week.

Don't forget to stop by the N&T blog, you definitely want to see what the rest of the girls created and also the rest of the reveals for each day, not to mention enter to win some prizes!