Showing posts with label Plant Sentiments. Show all posts

Tuesday, August 4, 2026

SSS Sunflower Blooms

 *This post contains affiliate links to Simon Says Stamp.


I've got a really simple card to share today featuring the Sunflower Blooms dies from Simon Says Stamp.

I generally think of sunflowers as very bright and bold, but wanted to try for a softer more muted color scheme today.

I really love the depth you get from these dies. 


Everything was adhered together with just liquid adhesive, but you can see how dimensional it is.

A sentiment from my previously released Plant Sentiments set finished the look.

Monday, September 2, 2024

STAMPtember Blog Party

 *This post contains affilaite links to Simon Says Stamp.


Happy Monday!  Today I'm participating in a blog party with a whole lot of other folks in the crafting community celebrating the Simon Says Stamp STAMPtember release.  At each stop there are some fun party prizes to be collected, below is mine.


OK, let's talk about today's cards, today I'm showing off my new Spiky Leaves dies.  These Spiky Leaves are so delicate that I thought they would be really pretty in vellum.  I cut a bunch of the pieces from vellum, and created three different flowers, arranging them over a panel of dark blue cardstock.  The adhesive situation is always a little bit tricky with vellum.  To create the flowers themselves, I used Tombow Mono liquid adhesive in just the center areas so the layering kind of masks it.  To adhere the flowers to the cardstock itself, I used Tombow tape runner which has a blue tint, but works here because the background was blue.  I didn't adhered the entire flower down, just enough to hold it in place.


The sentiment is from my Plant Sentiments set and was white embossed on a strip of navy cardstock.  I added a vellum mat, and popped the piece up with foam tape.


For this next card, I die cut the flower pieces from three different cardstock colors, and then mixed and matched to create another set of three flowers.  For this card I really wanted to vary the size of the flowers to show you how different they can look.  

These were arranged on a panel of Natural White cardstock.  I again chose a sentiment from the Plant Sentiments set which was white embossed on a black strip and popped up.


A few orange sequins finished things off.


For my last card, the piece were cut from white cardstock and then inked with a blending brush.

I used Taffy, Sweets, Raindrop, and Mist for the petals.  For the stem and leaves, I used Cappuccino.

I added a bit of stenciling in the top left and bottom right corners of my card panel using the Geo Leaves stencil and Cappuccino ink.  The flower was then adhered to the panel.


For the sentiment, I inked a piece of cardstock with Taffy, and die cut Lovely from it.  These pieces were then adhered to the shadow piece cut from white cardstock.  The secondary sentiments, from the Lovely stamp set, were stamped directly onto the panel, and the die cut sentiment was popped up with foam tape.

That's all for me today.  Be sure to head over to the Simon blog to check out the rest of the folks participating in the party.

Tuesday, May 7, 2024

SSS, More Dreamy Leaves

*This post contains affiliate links to Simon Says Stamp.


Hi friends!  Today I'm sharing a fun monochromatic card featuring my Dreamy Leaves set.

These leaves were pretty quick and easy to create.  

I started by clear embossing the leaves on some chartreuse cardstock.  I made one each of the four large leaves and two each of the smaller four leaves.  The leaves were then inked with Sprout with some darker areas inked towards the center of the leaves using Field.  

The completed leaves were then die cut using the coordinating dies, and arranged on a panel of that same chartreuse cardstock.


The sentiment, from my Plant Sentiments set was stamped with Versa Clair black ink on a piece of the same chartreuse cardstock.  I the swiped the Field ink over another piece of that cardstock to create a mat for the sentiment and the completed sentiment piece was then adhered with foam tape.

A lot of steps, but overall pretty easy to complete.

Friday, February 23, 2024

SSS Splendor Fine Floral Stem and Neatly Knitted

  *This post contains affiliate links to Simon Says Stamp.


Today I'm sharing a Spring card featuring a couple of the new products from the Splendor release.

I started by using the Neatly Knitted embossing folder on a piece of green cardstock.  I really love the knit design and to make it stand out just a bit more, I very lightly inked the raised portions with white pigment ink using a blending brush.

Next up, the Fine Floral Stem die.  This was die cut from Glossy White cardstock.  One pass through creates the base piece as well as three flower accent pieces (which could be adhered directly over the die cut flowers or offset to create a fuller flower - which is what I did) and flower centers.


The die was colored using Copics.  This is the first time I've colored with Copics on glossy cardstock.  The ink dries very quickly, so you really have to work hard at the blending.

I used YG25, G24, and G28 for the stem/leaves, Y00 and Y11 for the petals, and Y08 and Y19 for the flower centers.

I thought about adding some embellishments, but decided to go with a more clean and simple look, so I just added a simple sentiment from my Plant Sentiments set to finish things off.


Thanks for visiting!  It's starting to get pretty warm here.  I'm thinking that Groundhog might have gotten it right this year!

Saturday, December 2, 2023

SSS DieCember, Blog Hop

 *This post contains affiliate links to Simon Says Stamp.


Hi friends!  Today I'm participating in Day 1 of a two day blog hop celebrating the Simon Says Stamp DieCember release.  You should have arrived here from Mindy Eggen's blog.  I will have the full blog hop list at the end of the post in case you need it.

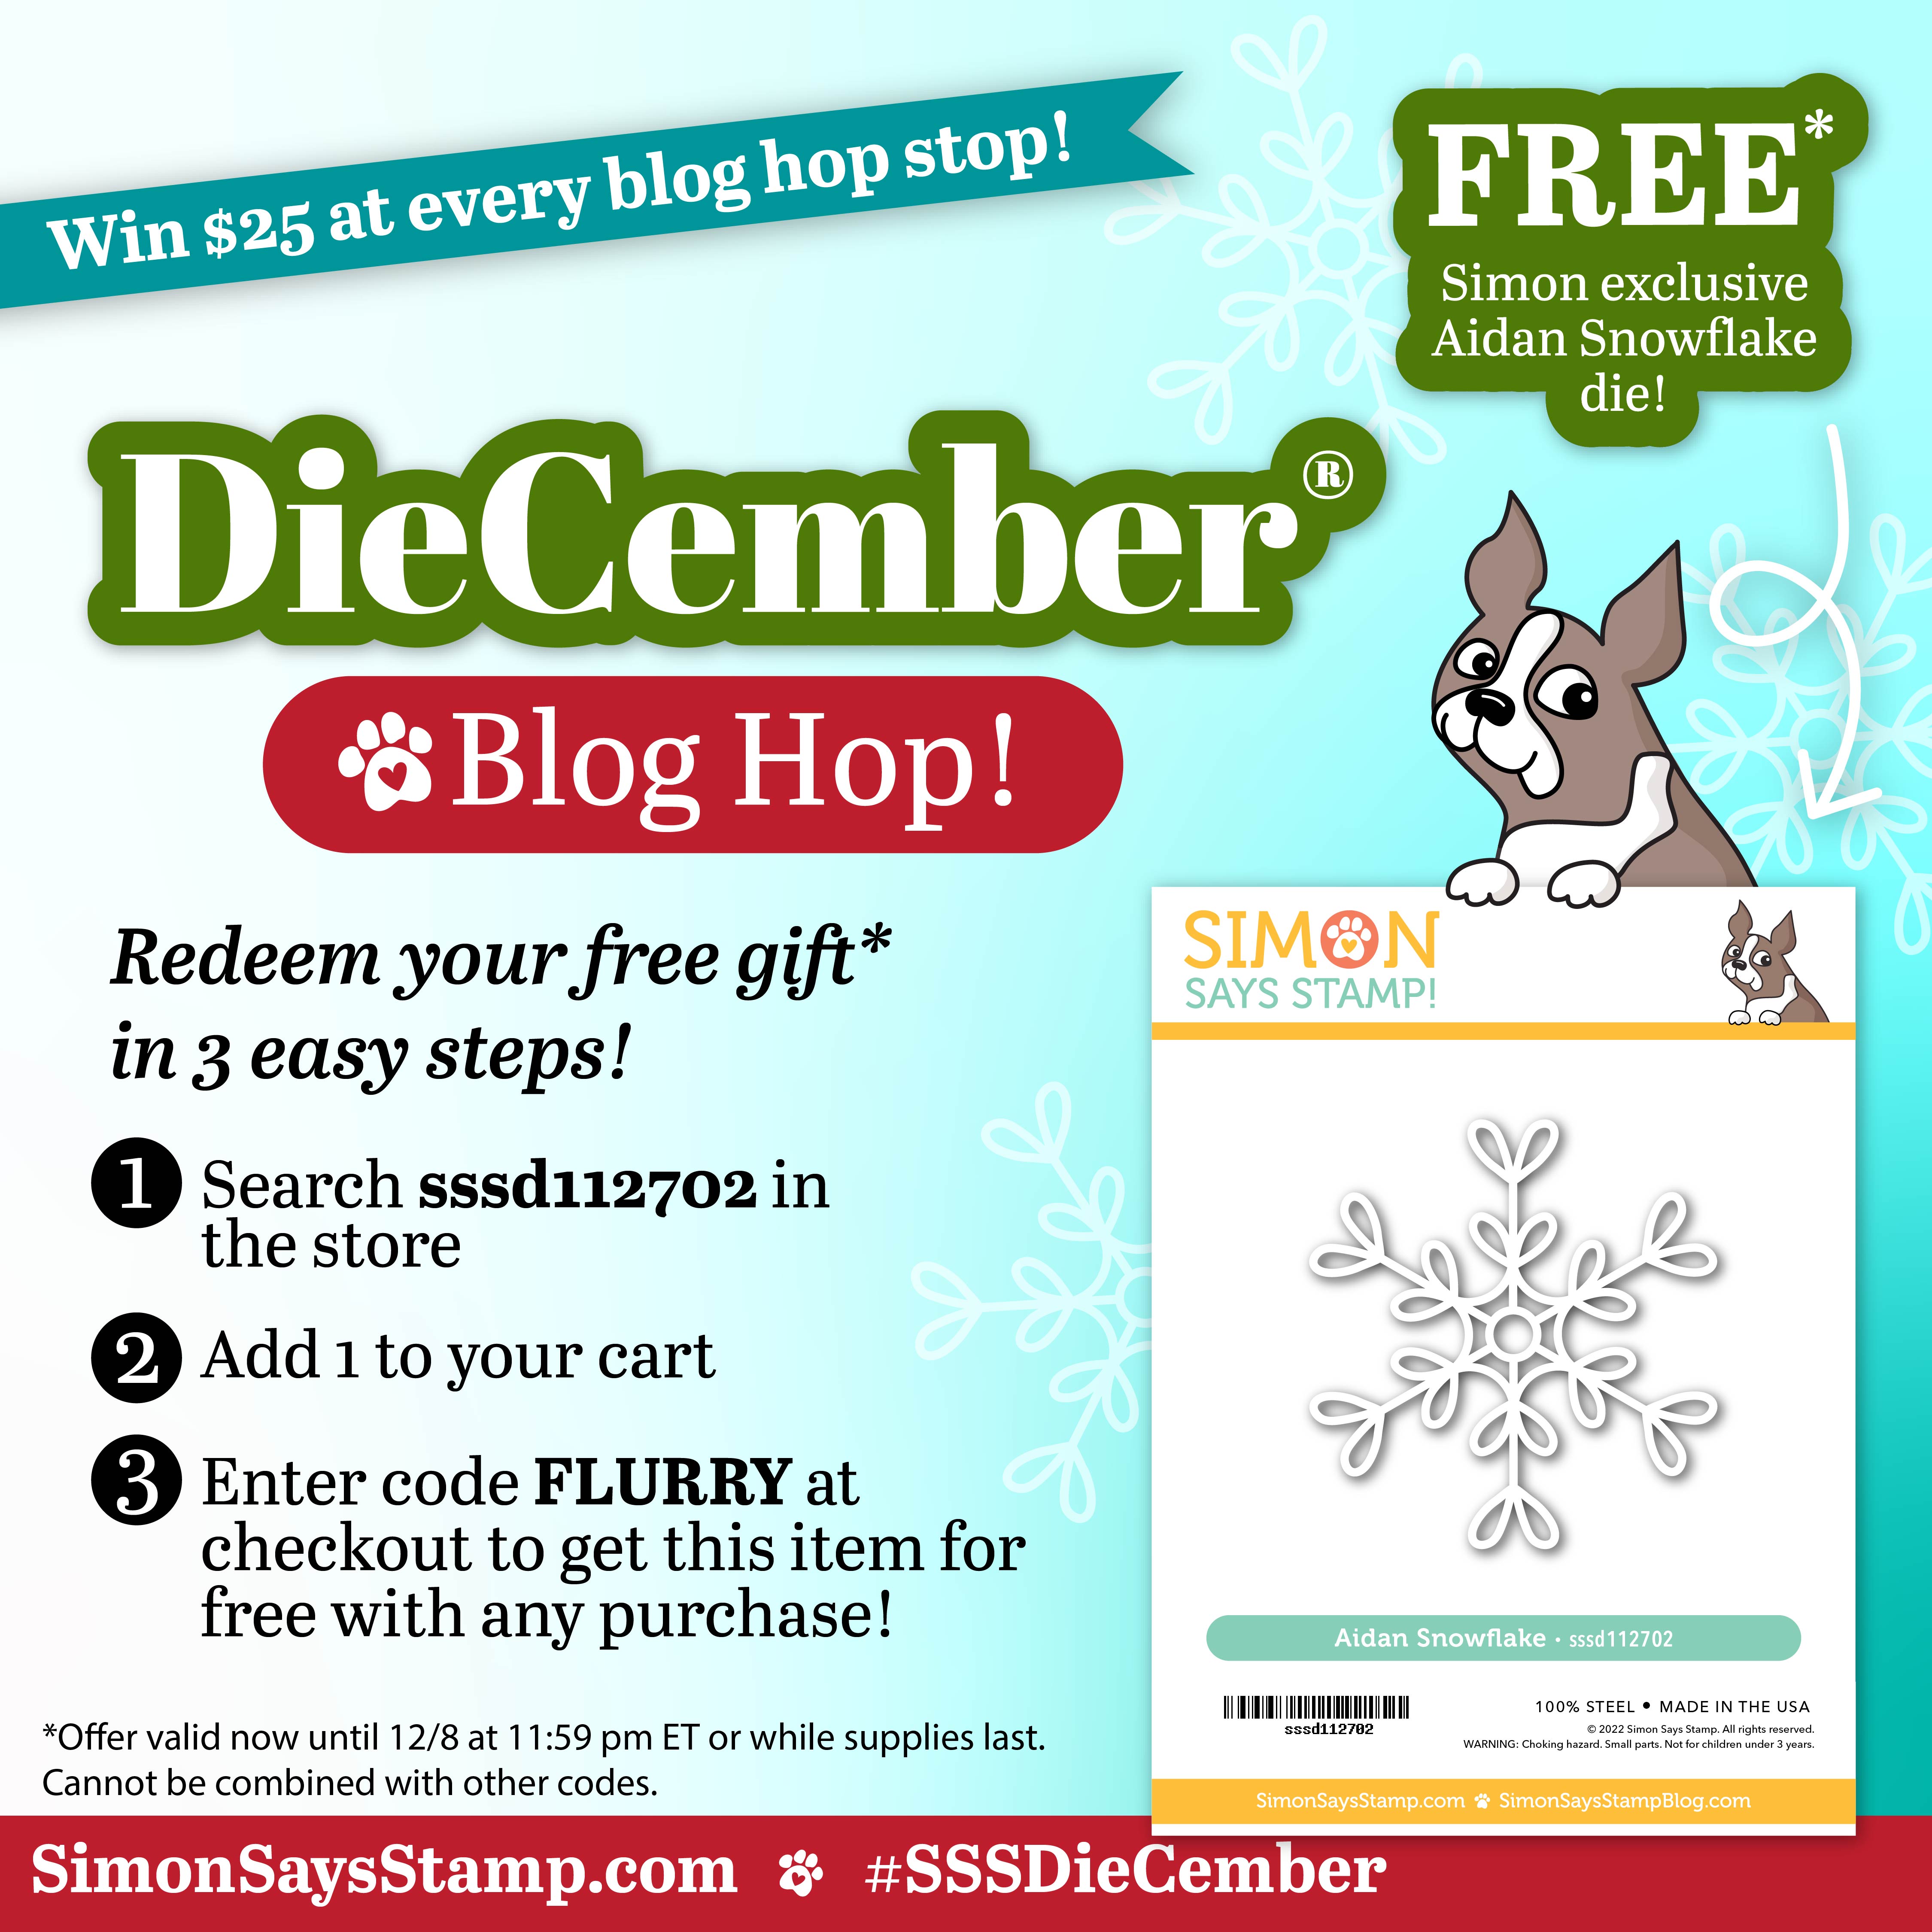
All good blog hops involve prizes right?  Well this one is no exception.  Simon is giving away a $25 store credit to one commenter at every stop along the hop.  AND you can get the die pictured above free with any purchase for the next week using code FLURRY.

My projects today feature my latest die set, Bold Scandinavian wafer dies.  I love the Scandinavian aesthetic and have designed numerous Scandinavian products over the years.  These dies are so much fun to play with and today I'm sharing several different ways to use them.

First up, some basic cards.


For these first cards, I challenged myself to create flowers only using scraps.  For the card on the right, I created a couple of flowers by layering the various die piece over each other.  The flower on the right is adhered directly to the card base, while the flower on the right was popped up for some dimension.

The sentiment, from my previously released Plant Sentiments set was popped up with foam tape.


For the card on the left, I wanted to create an inlaid card.  Once I decided which layers/colors to use, the individual pieces were die cut.  Then, starting with the largest/outside layer, I die cut the next smallest piece from within that die cut until each of my pieces nested within the outside layer  I then die cut the largest piece from a piece of printer paper, covered it with adhesive, and assembled my fully inlaid flower.

Similarly, for the leaves, I die cut the smaller leaf from within the larger one.

Next I cut a basic panel of white cardstock and die cut the flower stem from it.  A small piece of printer paper covered with adhesive was placed behind this area, and then I inlaid a die cut stem.

Next, I die cut both the outside layer of the flower as well as the large leaves from my panel.


Then I cut a large panel of printer paper to cover almost the entire panel, covered it with adhesive, and adhered it to the back of the card.  The flower piece as well as the leaves were then inlaid into the panel.

The sentiment, also from the Plant Sentiments set was added and the entire piece was adhered to my card base.

My next card steps things up a bit.  Years ago my sister visited Japan and brought me back some really lovely papers which I have been hoarding, but I thought this would be the perfect project to use them on.


I cut a bunch of different pieces from the papers and then mixed and matched the layers until I got a combination that I liked.

I wanted some texture for the background.  Looking through my scrap papers, I found this piece of kraft cardstock that I had stamped with white pigment ink ages ago.  I thought it was perfect for my background.


The background was stitched to my card base, and then I arranged my flowers and leaves over top.  The largest flower was adhered with one layer of foam tape, while the smallest was adhered with two layers.  

The sentiment was popped up with foam tape as well.


I really loved how this turned out.  The patterns remind me of fabric, which got my brain turning in another direction.

Years ago the girls had some really fun barrettes created with patterns kind of like the ones above.  I've got limited amounts of fabric, but I have lots of felt, so I pulled that out to create some barrettes.


The layers were cut from felt and tacked together in the center.  To finish my flower, I used a large sequin at the top which I stitched around/through several times.


The completed flower was then stitched to one of those snap type barrettes.


I talked my daughter Ellie into modeling the barrettes for me.  


These were really quick and easy to put together, they would be a great gift for kids to make for siblings/cousins/aunts or a project/craft for Girl Scouts or a Sunday School class.

That's all for me today.  Your next stop on the hop is my good friend Cheiron Brandon.  The full list is below if you need it.  Don't forget to leave a comment to be entered to win the $25 credit to the Simon store and good luck!

Simon Says Stamp Blog
Laura Bassen
Nichol Spohr
Cathy Zielske
Barbara Tarayao
Emily Midgett
Keisha Charles
Mindy Eggen
Miriam Prantner
Cheiron Brandon
Heather Ruwe
Bobbi Lemanski
Barb Engler
Jean Doeringsfeld

Thursday, August 17, 2023

SSS Just a Note, Layered Sunflowers

 *This post contains affiliate links to Simon Says Stamp.


I've got a fun card to share today using the new Layered Sunflowers stencil set from the Just a Note release.

There are three stencils in this set.  Two of them create the different petal layers, and one adds the stem/leaves and flower center.

I thought it would be fun to stencil on kraft.  I started by inking the two petal layers using Sweets and Iris.


For the third stencil you have to be a little bit more careful because you don't want to get the leaf color in the flower center and vice versa.  I'm kind of lazy, and I didn't want to have to work too hard on being neat, so I came up with a super easy hack.  I just cut a v-shaped notch in a piece of cardstock to mask off the flower centers.  When it came to inking up the flower centers, I just inverted the mask to cover up the two stems/leaves that are right by it.  I used Field for the leaves and Cappuccino for the flower centers.


A sentiment from my Plant Sentiments set stamped with Woodsy completed the card.

Thanks for visiting!

Wednesday, August 2, 2023

SSS Juste a Note, Darcy Bouquet Embossing Folder

 *This post contains affiliate links to Simon Says Stamp.


Today's card is a very quick one to create, but packs a punch.

I started with a panel of navy blue cardstock which I embossed using the new Darcy Bouquet Embossing Folder.

I then used Chipped Sapphire Distress ink around the edges of my card to create lightness towards the embossed center.

Once that was done, I pulled out my Delicata Gold inkpad and swiped it over the embossed portions of my panel repeatedly until I got the coverage I wanted.  The completed panel was then adhered to a kraft card base.


For the sentiment, I gold embossed one of the sentiments from my Plant Sentiments set on a strip of that same navy blue cardstock, added a bit of that same Chipped Sapphire inking to the ends of the strip, and adhered it to my card with foam tape.

Really quick and simple, but I love the result!

Thursday, July 27, 2023

SSS Just a Note Reease, Plant Sentiments

 *This post contains affiliate links to Simon Says Stamp.


It's release day at Simon Says Stamp!  There are so many fun things in this release, I had a great time creating for it.  I have two new sets in this release, surprisingly both sentiment sets since I don't do pure sentiment sets all that often.

Today I'm showcasing Plant Sentiments.  For my first card I pulled out the Sunflower Fields stencil set.


I went with some nontraditional sunflower colors: Cheeky, Aspen, Sage and Cappuccino, keeping the inking pretty light.

The sentiment was stamped on some white cardstock, and I added a kraft mat before popping it up over my stenciled panel.  Super easy.


I pulled out another oldie but goodie stencil, Peonies and Leaves, for this next card.


I started out by heat embossing my sentiment in white on a panel of kraft cardstock.

Then, I cut a small piece of masking paper and placed it over my sentiment.

The stencils was laid over top and I spread embossing paste through it, removing the making paper at the same time that I removed the stencil.


Once the panel was dry, I trimmed it down and adhered it to my card base.

My final cafd uses the new Layered Sunflowers stencils in a different way.  


I stenciled just the petal layers, but they are somewhat offset.  I used Sunbeam for one layer, and Citrine for the other.  Then, I flipped both lengthwise and repeated.  I was actually trying to create one whole flower by lining up the two layers.  I somehow managed to get them offset.  


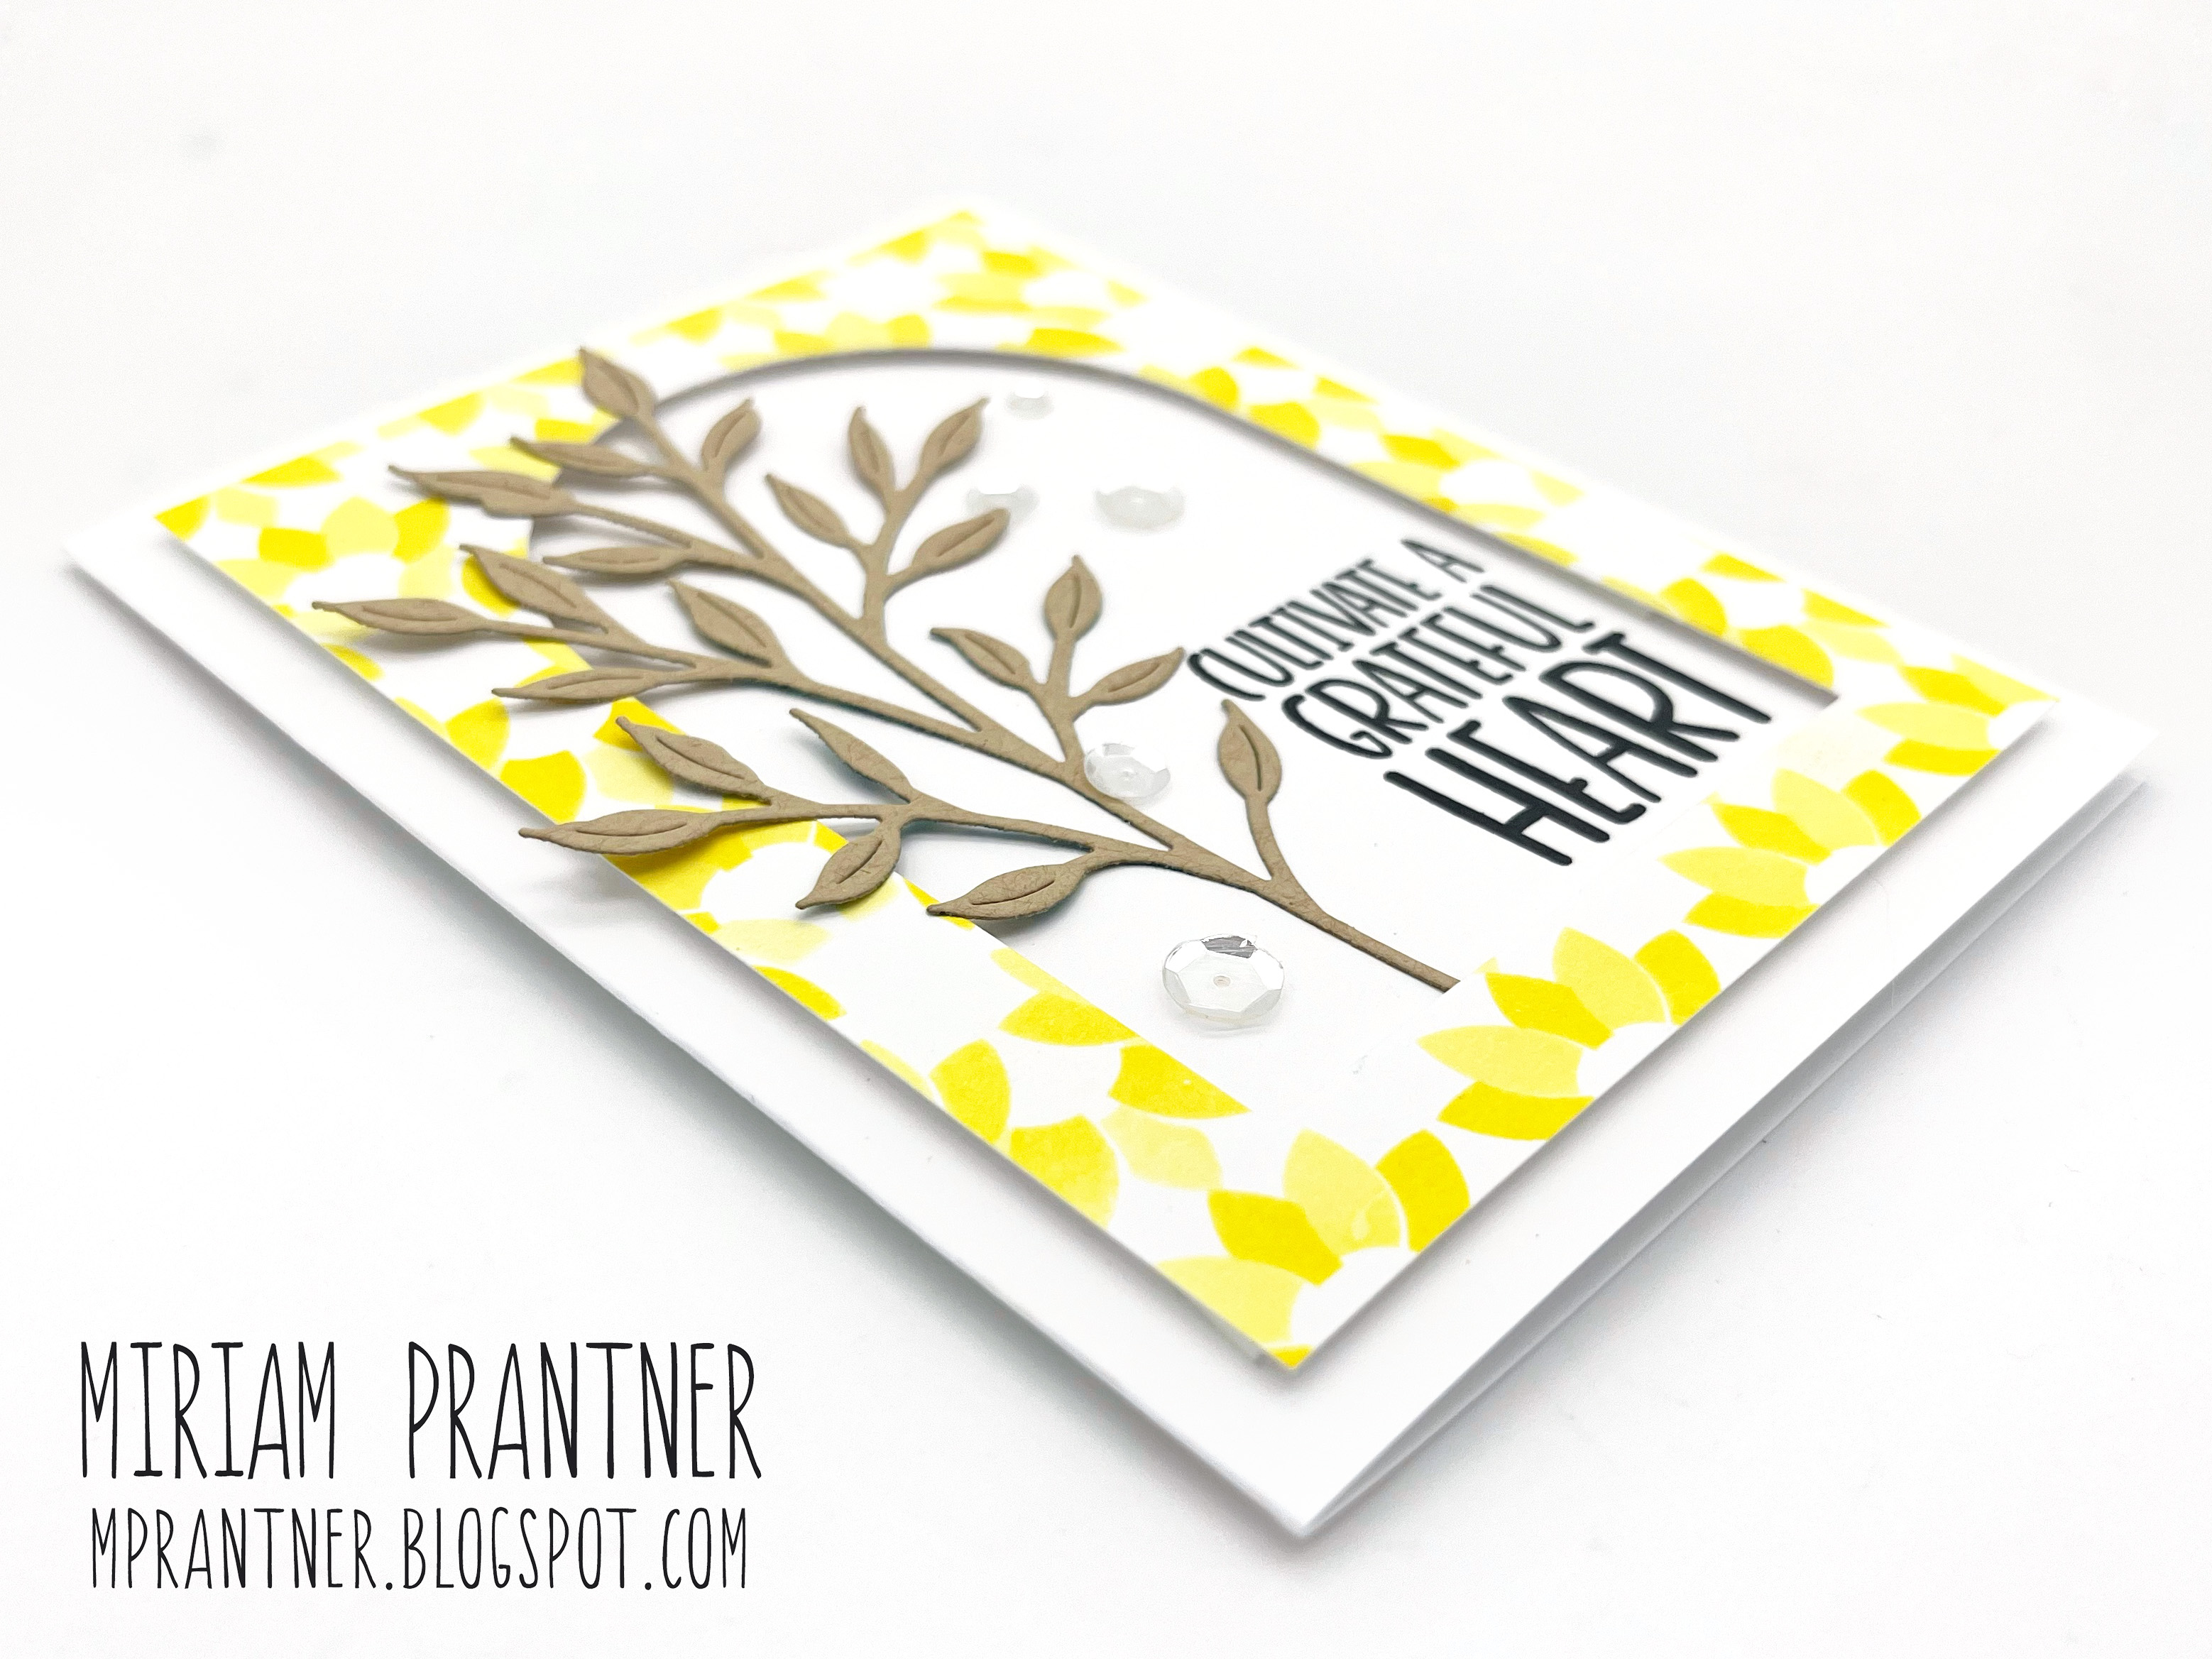
I still liked the resulting print and wanted to use it, so I used one of the Nested Dome Arches to cut a window in the stenciled panel, and popped this up over my card base.

I added a sentiment from Plant Sentiments, as well as Winsome Branch die cut from kraft cardstock and a few sequins for sparkle.

That's all for me today.  Be sure to stop by Simon to check out the full release.

I'll see you back here tomorrow for Day 1 of the Just a Note Blog Hop.