Showing posts with label Simon Says Stamp Challenge. Show all posts

Thursday, April 21, 2022

SSS Happy and Joyful Release, Thankful Magnolia

 *This post contains affiliate links to Simon Says Stamp


Hey all!  There are some really gorgeous new florals in the Happy and Joyful release, but this Thankful Magnolia is definitely my favorite.  I just love how big it is!

I really wanted to show it off, but coloring such a large image would take me a LOT of time, and I wasn't in the mood to spend a lot of time coloring.

Instead, I decided to give the impression of coloring by just adding highlights to the image.


To achieve this look, I stamped the floral with Simon Says Stamp white pigment ink on cardstock.  I created two versions of his card, one stamped on kraft, and the other on a medium gray cardstock.

Next, I used a single shade of of colored pencil to add some shading to the image.


Once I was happy with the result, I placed the panel back into my stamp platform, stamped again with the white pigment ink, and then embossed using Ranger Frosted Crystal Antiquities embossing powder.

This is one of my favorite embossing powders because it has a more matte/textured finish.  Sometimes I want to emboss, but I don't want shine, this is what I pull out in those situations.


I didn't want to cover up these flowers, so I chose a couple of very simple sentiments from the Well Wishes stamp set.


These really came together quickly, and could easily be mass produced as a set.

OK, see you back here tomorrow for a blog hop!

Monday, August 29, 2016

Fairy Garden Party


Saturday was Ellie's birthday party.  She's turning nine this week, and I thought we were going to get away with no party this year.  She had previously said she wanted to just have a family trip to Hershey Park, but several months ago decided she actually did want a party.

Of course the type of party she wanted kept changing.  The algorithm seemed to be that she wanted whatever type of party she had just been to.  In order to break this vicious cycle, I decided I needed to take control of my own destiny.

My goal was to come up with something that could be done outside with a small group.  Fairy garden was one of the things that the girls had been playing consistently with an old birdhouse Ellie had.  They spent a lot of time in the spring setting up all sorts of landscapes, bridges, ponds, rivers, forests etc. around the birdhouse.  

I did some searching on Pinterest and found this party and off we went.  The other request Ellie had was not to have cake, but to make ice cream sundaes.  Done.


This was really manageable and easy to put together.  I'm guessing it cost, including the pizza/ice cream about $125-$150.  All the little houses were purchased at craft stores using 50% off coupons, same for most of the landscape decorations (little pebbles, shells, stones, etc.).  


The trays were kind of a splurge.  I got those from Home Depot for around $4.50, you could definitely get trays for much less, but I liked how sturdy those were and since we were keeping the party small I thought it was OK.  


We picked up some moss from the craft store, but most of the moss Ellie 'harvested' from our backyard and we picked up lots of bark on our walks with the dog.  That was actually Carina's idea, it was fun to see them getting into finding things for the party. 


We also found some things in my stash that could be used, like Maya Road wooden spools we used to make tables.

It was really fun to see how the girls personalized their houses and created landscapes and items like sinks for their houses.  All told, the process took about an hour.

Then there was eating, ice cream sundae making (these girls used up a whole canister of Whip Cream!), and gift opening.  (The ice cream sundae cups were a Michael's find, 50% off summer clearance, so $1 a piece and the girls got to take them home.)  It was really warm and sunny out, so I took pity on the girls and let them come inside to eat.  


Ellie was also involved in making the thank you notes.  I thought Lawn Fawn's Fairy Friends would be perfect for the party.  I'm linking this up to the Simon Says Stamp Summer Vacation Kids Challenge for her.  (Is it me, or does she look really old??!!!)


A great weekend for Ellie.  We're keeping the party going here as we're celebrating her actual birthday tomorrow, and then Carina's birthday this coming Saturday.  Now to get back to my paper mache....

Tuesday, April 12, 2016

Happy Birthday


The current Happy Birthday challenge at Simon Says Stamp was the perfect excuse to break out my newly acquired Happy Birthday die from Paper Smooches.

I didn't have a ton of time, so I pulled out an old Documenter Kit from Studio Calico.

I used one of the journaling cards as a background, adding a mat of blue cardstock, and then embellished with a few chipboard stars and a wood veneer.


To add a bit of shine and a different texture, I used am embossing pen to color the chipboard stars and then added clear embossing powder.  I ended up doing this twice to get at thicker coating of gloss on the stars.

Thanks for stopping by!

*Affiliate Links Below


Friday, July 24, 2015

Charmed Birthday


I decided to play along with Jenn Shurkus' 10th Anniversary Blogiversary challenge.  You need to pick one of her projects and use it as inspiration.

This is the card that I chose.  I really like the splatter and the mix of textures.

For my card I pulled out the adorable Charmed set from Mama Elephant designed by my friend Elena.

I wanted to do a really soft version of Jenn's card.

I started by splattering several colors of Distress Ink on a watercolor paper panel.  Then I added a bit of translucent embossing paste over a Tim Holtz layering stencil and added a very light dusting of Prisma glitter while it was still wet.

Meanwhile, I stamped the Charmed images on watercolor paper with Versafine Smokey Gray in second generation.  Those were painted with Kuretake watercolors and then die cut.

Once the base panel was dry (I did that earlier in the day), I adhered the stamped images with foam tape.


I think this one is destined to be Ellie's birthday card this year.  It's cute and pretty and sparkly and right up her alley.

I'm also linking up with Simon Says Stamp Challenge since this week's challenge is Sparkle and Shine.

Supplies Used
Paper/Cardstock:  Canson - Watercolor paper; MFT - Grout Gray
Stamps:  Mama Elephant - Charmed
Ink:  Versafine - Smokey Gray; Ranger - Worn Lipstick, Scattered Straw, Mowed Lawn, and Antique Photo Distress Ink
Other:  Mama Elephant - Charmed Dies; Dreamweaver - Translucent Embossing Paste; Stampers Anonymous - Tim Holtz Layered Stencil Lace; CTMH - Prisma Glitter; Kuretake - Gansai Watercolors; Scotch - Foam Adhesive; Tombow - Mono Adhesive

Monday, September 29, 2014

Happy Monday!


Popping in to share a pretty card today.  This is a 4x6 card.  I used to make a lot more cards this size, but these days normally go with a more conventional size.

I actually got boxed into the size when I watercolored the background.  I was originally thinking I might trim it down some more, but I like the 'frame' of white space around the watercoloring so went with it.  

The doily image on the right was created by laying down a real doily and lightly inking over it with some soft stone ink.

I die cut two happys from watercolor cardstock, watercolored one and left one plain, adhered them to one another slightly offset, and then adhered the entire piece to the card.


The secondary sentiment is from a PTI set, and I added a few sequins for some extra sparkle/texture.  

It's Anything Goes week at Simon Says Stamp, so I'm going to link this up over there.

Supplies Used
Paper/Cardstock:  Avery Elle - Silver Fox cardstock; Canson - Watercolor paper
Stamps:  Papertrey Ink:  Phrase Play #5 Mini Stamp Set
Ink:  Versamark; Hero Arts - Soft Stone Shadow Ink
Other:  Studio Calico - Happy by Paper Sushi die; Kuretake - Gansai watercolors; CTMH - White Embossing Powder and Liquid Glass; Miscellaneous Doily; Neat & Tangled - Sequins; American Crafts - Foam Adhesive; Tombow - Mono Aqua

Wednesday, August 6, 2014

Birthday Balloons


Some more cards from this weekend.  I thought I would take the opportunity to knock out some birthday cards.  For those of you who don't know, my husband is a high school teacher and last year he asked me to make birthday cards for all his kids.  That is a lot of cards people.  It nearly killed me towards the end of the year, so I'm trying to get a jump start this summer.

Believe it or not, until last weekend I had never tried SU inks.  I have to say I prefer dye to pigment inks, and these ones were really nice.  I picked four shades of blue/turquoise and just randomly stamped the balloons to create an ombre effect.  So quick and easy.  The balloon is from a Simon Says Stamp set (Birthday Balloons), and the sentiment is Avery Elle (Cake & Candles).

I figured I'd go ahead and try some of the other SU colors so I made a second card.


A thin strip of black cardstock at the bottom anchors the card.  These were so easy to make, definitely mass producible and you could make a really quick and easy gift set too.

I'm going to link this up over at Simon Says Stamp's Work it Wednesday July challenge since the balloon came from one of their sets and I used blue.

That's all for me today!

Tuesday, August 5, 2014

Big Hello!


I love this big Hello die from Simon Says Stamp and was so excited to take it for a test drive this weekend.

This is really a very easy card to put together.  I just die cut the speech bubble (also a Simon die cut), then die cut the hello both from colored cardstock as well as out of the speech bubble, and put it all back together as an inlaid die cut.


I wanted to pair it with that mint/white striped paper, but it seemed like it was getting a little lost, so I cut another speech bubble in black, adhered that to the patterned paper, and popped up the hello bubble slightly offset.

I'm going to link this up over at Simon Says Stamp since it's Anything Goes week.

Thanks for stopping by!

Tuesday, July 1, 2014

Miss Mia


I got the urge to make a just for fun card last night, so I pulled out this sweet Jane's Doodles' image.  She's no longer available as a clear set, but she is available in digi form.

I colored her with a combination of Copics and Spectrum Noir markers.  I blend the two freely, and I will also admit that I am no coloring genius...I've picked up tips along the way, but much of what I do is experimentation.

I'm not all that pleased with the hair - I used a Copic blending trio on that but I really think it needs more accents, so next time I'll throw in some additional colors to make the highlights stand out some more.

I didn't have the right shade of cardstock for a mat, so I just cut a white mat and colored the edges with one of the Copics I used on her dress.

And, even though I made her just for fun, turns out it's Anything Goes week at Simon Says Stamp, so I'm linking her up there.

Thanks for stopping by, come back tomorrow, I have my first guest projects for Paper Smooches to share!

Supplies Used
Paper/Cardstock:  CTMH - White Daisy cardstock; AE - Fog cardstock
Stamps:  Jane's Doodles - Little Miss Mia
Ink:  Memento - Tuxedo Black
Other:  Spectrum Noir and Copic markers; Tombow - Mono Adhesive

Wednesday, May 28, 2014

Love Simon


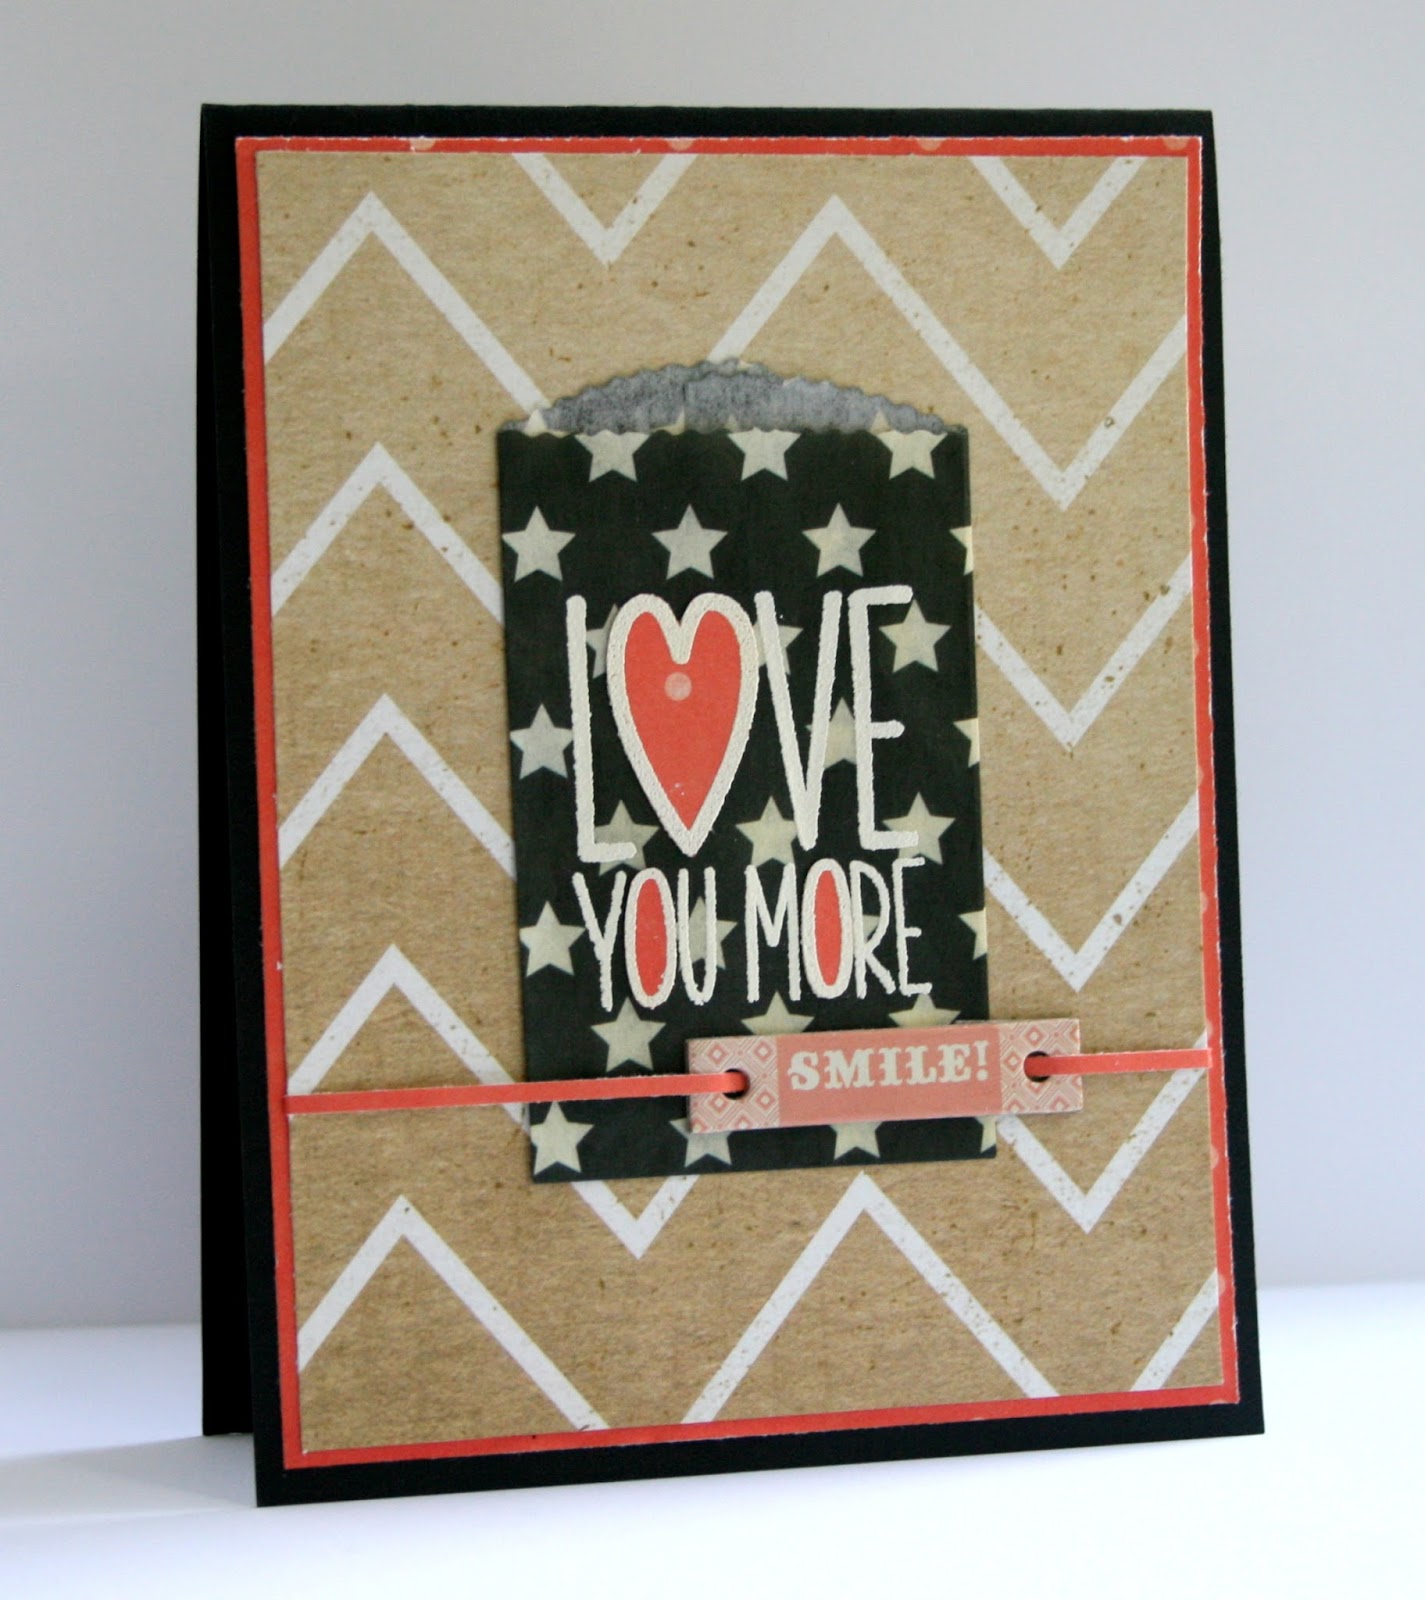
Just popping in to share a quick and easy card that I'm going to link up over at Simon Says for their Anything Goes challenge.  They also have a new Work it Wednesday post up on the blog, so I'm going to link up there too.

I used the Kelly Purkey Chevron stencil with some Teresa Collins embossing paste.  That paste stinks to high heaven, but it is so smooth and spreads like buttah!  I'm a fan, I can deal with icky smells.....I changed diapers for five years.....

ANYWAY, some offset Avery Elle love die cuts and a few veneer hearts finished it off.


Like I said, really quick today.

AND, if you haven't had the chance to vote yet, I'd love it if you would click over to the gallery and take a gander....link is over there at the top right of my blog.  I'm hoping to stay in the competition for a while!  You do have to register (I know, total pain) but that just keeps people from voter fraud ;)

Have a great rest of your Wednesday!

Supplies Used
Paper/Cardstock:  Avery Elle - White and Pixie cardstock; LCI - Bubinga Woodgrain Paper
Other:  Simon Says Stamp - Kelly Purkey Chevron Stencil; Avery Elle - Simply Said Love Ellements Die; Teresa Collins - Embossing Paste; Studio Calico - Atlantic Wood Veneer Hearts; CTMH - Dimensional Foam Tape; Tombow - Mono and Multi Mono Adhesive

Tuesday, April 8, 2014

It's Your Birthday - Squeal


Playing along with a couple challenges today - Simon Says Stamp's Happy Birthday challenge and Anything Goes at SPARKS.

I recently got Paper Smooches' Party Posse set.  The critters are so cute and I chose this little guy for a really quick and easy card.  I cut a few random strips of patterned paper from SC's Snippet's collection, adding a bit of stitching detail.

Then I colored the little critter (I'm really not exactly sure what it is, hamster?) with Spectrum Noir markers and fussy cut him.  The word bubbles are Lawn Fawn....I actually have the dies, but I was lazy to go upstairs and get them, so I just fussy cut them and added the PS sentiments.

Hope that your week is going well!

Supplies Used
Paper/Cardstock:  Studio Calico - Snippets 6x6 pad; Avery Elle - White Cardstock; CTMH - White Cardstock
Stamps:  Paper Smoches - Party Posse; Lawn Fawn - A Birdie Told Me
Ink:  Memento - Tuxedo Black
Other:  Spectrum Noir Markers; Tombow - Mono Adhesive; CTMH - Dimensional Foam Tape; Sewing Machine

Tuesday, April 1, 2014

Addicted to Gold


I really am....and it's one of those things where when I pull out the gold, everything seems to get 'golded'.

I wanted to play along with the stencil challenge going on over at Moxie Fab World, and my sweet friend Nina (who incidentally is opening her new store, Waffleflower Crafts TODAY, please go check it out!) sent me a jar of gold Wendy Vecchi embossing paste.

I pulled out Dina Wakley's Halftone Borders stencil from The Crafter's Workshop.  I first used a sponge dauber and gold Delicata ink to add the pattern to the cardstock.  Then I turned the stencil 180 degrees, adjusting it vertically so I could get an interesting intersection of the opposing patterns, taped it down and added the gold embossing paste.  I LOVE this stuff!  It's gorgeous and shimmery and elegant.


I really wanted the stenciled piece to shine, so I just added this big Love die cut from, you guessed it, GOLD cardstock, and the secondary sentiment was embossed in gold.

I love how all the different shades of gold play here and there's a great mix of sparkle and shine as well.  Here's a photo with the light reflecting off of all the shiny parts.


I'm also going to link this up over at Simon Says Stamp's Monday challenge since it's Anything Goes this week.

Thanks so much for stopping by!

Supplies Used
Paper/Cardstock:  Avery Elle - Sapphire and Whipped Cream cardstock; Recollections - Gold Mirrorboard cardstock
Stamps:  Avery Elle - Simply Said: Love Clear Stamps
Ink:  Tsukineko - Delicata Golden Glitz, Versa mark
Other:  The Crafter's Workshop - Mini Halftone Borders 6x6 Stencil; Dreamweaver - Wendy Vecchi Metallic Gold Embossing Paste; Avery Elle - Simply Said: Love Elle-ments; CTMH - Dimensional Foam Tape and Gold Embossing Powder; Tombow - Mono Adhesive

Thursday, March 20, 2014

Here Comes The Sun


Thought I would play along with a couple challenges today - Glitz Designs and Simon Says Stamp's Wednesday challenges.

Both challenges this week involve glitter.  I'm generally not a huge glitter fan....it's just generally messy and I have enough mess that I don't really need more.  But then I thought why not use my Wink of Stella pen?  Happily that's exactly what the ladies at Simon Says Stamp are showcasing this week.  I love it when a plan comes together!

I used the Sunshine in My Soul papers.  I have to say this is one of my favorite Glitz releases from last year, and I think the most underated.  It was a mid-season release last year so didn't seem to get as much play as the others, but it is just so pretty.

I really wanted to showcase this sunburst pattern pattern paper.  If you look closely at it you can see some bubbles/circle bokeh like pattern on the paper.  I used the Wink of Stella pen to go over those circles.  Another mostly solid blue paper was used as the base/mat, and then I die cut the alphas in yet another gold paper.  The alphas were run through my 1 1/2" sticker maker.  While they were still stuck to the plastic, I added glitter to them with the Wink of Stella.  Then I adhered them to the front panel.


Some dimensional adhesive was used to attach the front panel to the card base and then some clear and gold sequins were added for a little extra pop.  I really like how they play with the glittered bokeh circles.

It rained all day yesterday, so I'm hoping that the sun really does come out today!

Supplies Used
Paper/Cardstock:  Glitz - Sunshine in my Soul 6x6 pad; PTI - Kraft cardstock
Other:  Lawn Fawn - Cole's ABC dies; Zig - Wink of Stella pen; Neat & Tangled - Clear and Gold Sequins; CTMH - Dimensional Foam Tape and Liquid Glass; Tombow - Mono Adhesive

Wednesday, February 12, 2014

With all my heart - MME February Challenge


I recently received a new My Mind's Eye 6x6 pad from my sweet friend Tessa, and thought I would put it to good use and play along with MME's February challenge, All You Need is Love.

If you've followed me for a while, you know that I love the quilted look.

For this card I chose two of the patterns from the Cupid's Arrow pad and using a punch, made four 1 1/2" squares of each.  

Using my scoreboard, I aligned the squares on an angle, like a diamond, and scored a line 1/4" to the right of center, and folded along the score line.

Then it was just a matter of arranging them together.  I butted up two opposing patterns together so that the folded back pieces created a square.  These were then assembled to create the focal point of the card.  Each of the pieces was 'tacked down' with a bit of adhesive and then I added the stitching.  


Two small squares of vellum and a wood veneer heart colored with a Spectrum Noir marker finished off the quilt piece.  To add some extra dimension, I popped that entire panel up with foam adhesive.

The sentiment is from Clear and Simple Stamps.

Sometimes it's just fun to play with punches and see what you come up with.

I'm also going to link this up over at Simon Says Stamp since their soon to expire challenge is to use hearts.

Thanks for coming by.  We're supposed to get some snow tonight, but we'll see....

Supplies Used
Paper/Cardstock:  MME - Cupid's Arrow 6x6 pad; CTMH - White Daisy and Slate Cardstock; Recollections - Vellum
Stamps:  CSS - Cupid Love
Ink:  CTMH - Slate
Other:  SC - Atlantic Wood Veneer Heart; CTMH - Dimensional Foam Tape and Liquid Glass; Sewing Machine

Wednesday, January 29, 2014

Let me tell you.....gossiping deer.... for Simon Says Stamp


Deer are the worst gossips!  Ha!

This is for this week's Simon Says Stamp Wednesday Challenge which was to create a card that is funny or humorous.

A fun mix of products here.  The journaling card is from Carta Bella's Hello Again collection.  The 'let me tell you...' is printed on the card and I added the 'really?' from Paper Smooches' Slang Gang set.

The little deer are from Lawn Fawn's Into the Woods set.  I created the second deer using the mirror stamping technique, colored them with Spectrum Noir markers and created some rolling snow covered hills for them to stand in.

This card does make me chuckle whenever I look at it and I think it's a perfect 'girlfriend' card.

Supplies Used
Paper/Cardstock:  Carta Bella - Hello Again 12x12 Collection; Avery Elle - Maple Wood Grain Cardstock; CTMH - White Daisy and Sky cardstock
Stamps:  Lawn Fawn - Into the Woods; Paper Smooches - Slang Gang
Ink:  Memento - Tuxedo Black; CTMH - Pacifica
Other:  Spectrum Noir Markers; CTMH - Dimensional Foam Tape; Tombow - Mono Adhesive

Friday, November 1, 2013

That's how we roll - Friends with Flair and SSS


It's my first Friday without a DT post in a while, so I thought I would play along with Unity's Friends with Flair challenge.

I pulled out a couple of my favorite itty bitties:  Crappy Day (my all time favorite) and Happy to be Me.

The main image was stamped with Tsukineko Brilliance ink in Cosmic Copper and the clear embossed.  I used my CM custom cutting system templates for the ovals, Amy Tangerine Ready Set Go papers, and some Twinery Peapod twine.

Lots of layers, but pretty easy to pull together.

Since it's Anything Goes week at Simon Says Stamp, I'm linking up over there too.

Hope you are fully recovered from your Halloween sugar binge.  We had a great time.  The rain held off, just a few little drops when we were wrapping up.  We went further than I thought we would, as we ran into one of Ellie's classmates and trick or treated together for a while.  Carina didn't ask to be picked up at all, and the girls were able to hand out candy to a few trick or treaters at our house too.

Have a great weekend, and enjoy all that candy!

Supplies Used
Paper/Cardstock:  AC - Amy Tangerine Ready Set Go 6x6 Pad; CTMH - Colonial White and Autumn Terracotta cardstoack
Stamps:  Unity - Crappy Day and Happy to be Me Itty Bitties
Ink:  Tsukineko - Cosmic Copper Brilliance; CTMH - Topiary
Other:  The Twinery - Peapod Twine; CM - Custom Cutting System (ovals); CTMH - Clear Embossing Powder; Tombow - Mono Adhesive

Friday, August 30, 2013

Artful Delight Friday - Thanks!


I can't believe August is almost over!  Today's card was lots of fun to create.  I really wanted to use that great number paper from The Pier, and I paired it with the blue woodgrain paper. 


I cut the circle elements using my Creative Memories Custom Cutting system (it's old school but it works).  The white mat is actually from another of the Pier papers.  I wanted something not quite white white, and not quite off white, since it's from the same collection, the 'white' matches perfectly.

A little bit of May Arts burlap string added some balance to the card.

I'm going to link this up over at Simon Says Stamp for Anything Goes Week too.

I had a great time with this month's kit.  It's amazing when I look back how different and varied my cards are, the Artful Delight kits are so versatile, be sure to check them out....September's kits look FANTASTIC!


Supplies Used:  Artful Delight August Card Kit; Versamark; AC - Zing White Embossing Powder; CTMH - Dimensional Foam Tape; May Arts - White Burlap String; Kuretake - Glue Pen; Tombow - Mono Adhesive

Thursday, August 29, 2013

Mesmerized by the Lawnmower - Lily Bee Sketch and Simon Says Stamp Dotty Challenge


Hey everyone, trying to stay true to my goal to do at least one layout a week.  This week I'm playing along with a couple challenges, and continuing to work on some photos from our family vacation last summer.  I'm actually making a dent in those photos, and am hoping to be done relatively soon (don't ask about the Budapest/Hungary trip...).

Here's the Lily Bee Sketch:


I'm using papers from Lily Bee's Destination collection as well as a sheet of CTMH cardstock in Buttercup.  The circles were all cut with my old CM custom cutting system circles, and I did a fair amount of stitching on this one too (it's a little wonky...my stitching and curves is not always the best combination).

For most of the decorative circle/chevron elements I pulled out Ronda Palazarri's Well Rounded stencil again.  It's such a versatile stencil and I used three of the different circle elements.  For the chevrons I cut an arrow shape from a scrap piece of paper and used a sponge dauber with gray ink, dabbing away from the arrow.  It's subtle, but I think it works.


Since I've got lots of polka dots/circles on this one, it's perfect for the Monday challenge at Simon Says Stamp.

Thanks so much for coming by!

Supplies Used
Paper/Cardstock:  Lily Bee - Destination Collection; CTMH - Buttercup cardstock
Ink:  CTMH - Grey Wool
Other:  The Crafter's Workshop - Well Rounded; CTMH - Sponge Dauber; American Crafts - Crate Little Boy Blue Red Thickers; Lily Bee - Destination alphas and stickers; Sewing machine; Pigma - Black Micron Pen; CM - Custom Cutting System

Wednesday, June 26, 2013

Verve June Diva Dare


Hey everyone!  Sliding in a card under the wire for this month's Verve Diva Dare.  The challenge this month was to create a card using coloring/paint and as an extra challenge to include kraft cardstock.

This was a fun, fun card to make, and I got to use some of my new goodies:  the peacock feather stencil from The Crafter's Workshop and some Liquitex Modeling Paste.

I first added the feathers using modeling paste.  Once that was dry I added color using Salty Ocean Distress Ink.  I used a wet brush to moisten the areas I wanted to color, then I used a waterbrush to pick up the color and apply it.  I wanted to keep the feathers pretty light, so when I was adding the color, I went right behind with a paper towel to pull color off of the modeling paste.

After that it was just adding the embossed sentiment and mounting the panel to the card base.  Really simple in terms of steps although necessarily lightning quick because you have to wait for stuff to dry.

I'm also going to link this up to Simon Says Stamp as it's Anything Goes week. 

Thanks so much for stopping by, hope your week is going well!

Supplies Used
Paper/Cardstock:  Papertrey - Kraft cardstock
Stamps:  Verve - Phillippians 4:4 Plain Jane
Ink:  Versamark; Distress Inks - Salty Ocean
Other:  The Crafter's Workshop - Peacock Feathers 6x6 Stencil; Liquitex - Modeling Paste; Ranger - Waterbrush; Zing - White Embossing Powder; American Crafts - This to That doublesided adhesive

Friday, June 7, 2013

Arful Delight Friday - Journaling Card Cards


Hey everyone!  I've got two Artful Delight cards to share with you this week.  I have to say I am LOVING this month's kit.  Last month's kit was so pretty and delicate and lovely, this month is bold, and colorful, and trendy.

Both of my cards today use journaling cards from Simple Stories 24/7 collection. 

The first card is a very CAS interpretation of this month's card sketch:


The photo fit the speech bubble perfectly - it's from a couple years ago when Andrew and I took Ellie to the beach near my hometown.

I added one of the little 24/7 stickers as well as some of the Canvas Corp hemp cording.  The cording is actually quite thick, so I separated the strands to get the skinny pieces.  I'm going to link this one up over at Simon Says Stamp as it's Masculine/Father's Day week as well as A Blog Named Hero - It's a Man's World.

My second card uses some of the My Mind's Eye papers from the kit as well as some more of the 24/7 stickers, and some fun embellishments:  camera and striped paper clip.  I left the journaling card blank because I figure I will fill in the date and the notable/congratulatory event when the occasion to use it arises.  I added a little doodling around the edges of the papers to give it a little more definition.


I really had a great time creating these.  You guys definitely want to play along with our sketch challenges this month....a random winner gets their pick of the scrapbooking or card kit and they are really so fun this month!